

I thought using a Keurig coffee maker would be easy. But when I unboxed my first one, I froze. I stood in the kitchen, staring at the buttons. I had no clue what to do next. Since then, I’ve used almost every Keurig—like the K-Classic, K-Select, K-Duo, and Mini. I’ve even compared them to the Ninja 12-Cup Programmable Coffee Brewer. In this guide, I’ll show you how to use your Keurig—step by step. Whether you use pods, ground coffee, or want to brew a carafe, I’ve got you.
How to Use a Keurig Coffee Maker – Step-by-Step Guide
Step 1 – Plug In and Fill the Water Tank
First, plug in your Keurig. Set it on a flat spot near an outlet.
Most Keurigs have a water tank on the side or back.
If you have a small one like the K-Mini, fill it before each brew.
Big ones like the K-Duo can hold more water. You can brew more than one cup.
👉 Tip: Use clean, filtered water. It helps your coffee taste better.
Step 2 – Turn It On
Press the power button. It may be on the top or side.
You’ll see lights blink while it heats up. That’s normal.
It takes about a minute.
If it doesn’t start, check that the tank is in the right place.
Step 3 – Add a Pod (or Not)
Lift the handle. Drop in a K-Cup pod. Close the lid.
Want to use ground coffee? You can!
Use a reusable pod. Add one or two scoops.
Close the lid tight and place it where a pod would go.
➡️ Yes, you can use a Keurig with ground coffee. Just use the right filter.
Step 4 – Pick a Cup Size and Brew
Most Keurigs let you pick a size.
Common sizes are 6 oz, 8 oz, and 10 oz.
I like the 8 oz—it’s strong but not too much.
Some models have a “Strong” button. Hit that for a bold brew.
The K-Mini is a bit different. You pour the water in each time.
It brews what you add.
Press “Brew.” Your coffee will be ready in less than a minute.
Step 5 – Clean and Keep It Fresh
Clean your Keurig once a week.
Run hot water with no pod.
Do a deep clean every few months. That’s called descaling.
Use vinegar or Keurig’s own cleaner.
👉 Tip: Check the needle under the lid.
If your brew is slow, it might be clogged.
Use a paperclip to clear it—gently.

👉🏿👉🏻 Check Latest Price and Offer at Amazon 👈🏻👈🏿
How to Use Specific Keurig Models (Mini Guide)
How to Use a Keurig K-Classic
The K-Classic is simple. Plug it in and fill the tank. Press the power button. Wait for the lights to stop blinking.
Lift the handle. Drop in a K-Cup pod. Close the lid. Pick a cup size—6, 8, or 10 oz. I like 8 oz for a good, bold cup. Press “Brew.”
➡️ Want a fast, no-hassle cup? The K-Classic is great for that.
If it doesn’t brew, open and close the lid again. That often fixes it. Clean it once a week for better taste. Descale it every few months if the water flow slows down.
How to Use a Keurig K-Select
The K-Select is a step up. It has a “Strong” button. That gives your cup more flavor.
Start the same way. Plug it in. Fill the water tank. Power it on. Add your K-Cup pod. Close the lid.
Pick your cup size—6, 8, 10, or 12 oz. I go for 10 oz. Hit “Strong” if you like bold coffee. Press “Brew.”
➡️ Love strong coffee? Use the “Strong” button for better flavor.
It also has a big tank, so you don’t need to refill often. Clean it once a week and descale it every few months.
How to Use a Keurig Duo or Carafe Coffee Maker
The K-Duo can make one cup or a full pot. I use it when friends visit or on lazy weekends.
To make a cup: Fill the water tank. Add a pod. Pick a size. Press “Brew.”
To make a pot: Use the carafe side. Add ground coffee and a paper filter. Flip the switch to “Carafe.” Pick how many cups you want—6, 8, 10, or 12. Then press “Brew.”
➡️ Need one cup or a whole pot? The K-Duo does both.
Give it a clean often. Descale it every few months.
How to Use a Keurig 2.0
The 2.0 has a touchscreen. It looks fancy, but it’s easy to use.
Lift the lid and add a pod. It scans the pod to check if it works. If it says “Oops,” use a different one. It only works with special pods.
The screen shows cup sizes and strength. Pick what you want and tap “Brew.”
➡️ Use the right pods for Keurig 2.0. The screen helps guide you.
You can also use carafe pods to make a pot. Just follow the screen steps. Clean and descale as needed.
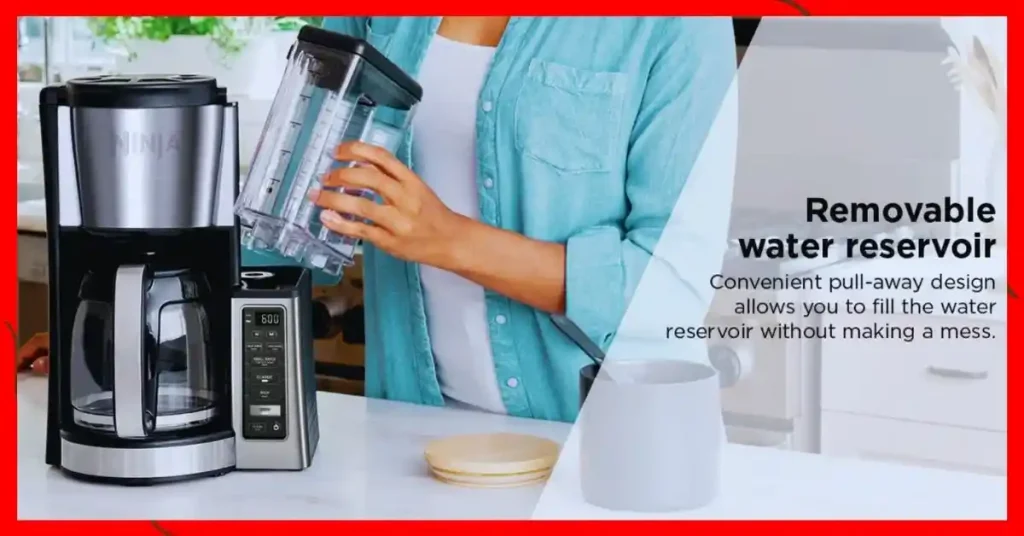
Compared: Keurig vs. Ninja 12-Cup Programmable Coffee Brewer
I’ve used both. A Keurig is fast and easy. The Ninja takes more time but gives you more control.
The Keurig coffee maker is great for quick mornings. You pop in a pod. Press a button. Done. Your coffee is ready in less than a minute. No mess. No waiting.
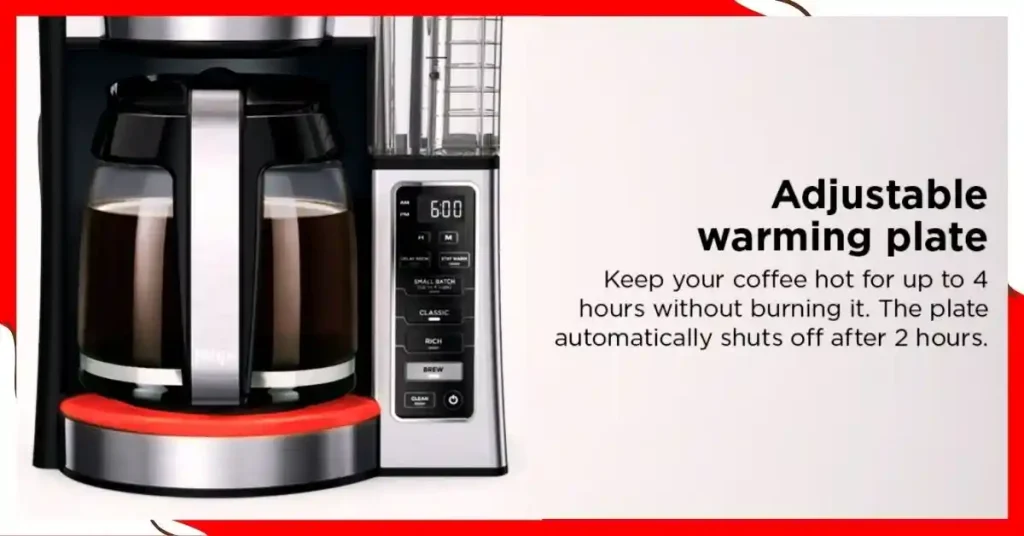
The Ninja 12-Cup Programmable Coffee Brewer is slower. But it lets you choose how strong you want your coffee. You scoop in the grounds. Pick your size. You can brew one cup or a full pot. You can even set it to start in the morning.
➡️ Use Keurig if you want coffee fast with no fuss.
➡️ Use Ninja if you like to tweak your brew and don’t mind a few extra steps.
The Keurig is great when I’m rushing out the door. But I use the Ninja when I want to sip and relax.
👉 Quick answer: Keurig is best for speed. Ninja is best for control.
Both make good coffee. It just depends on what you need each day.

👉🏿👉🏻 Check Latest Price and Offer at Amazon 👈🏻👈🏿
Common Keurig Troubleshooting Questions
How to Get a Keurig Coffee Maker to Work
If your Keurig isn’t turning on, don’t panic—I’ve been there too. The first time mine wouldn’t brew, I thought it was broken. Turns out, the water tank just wasn’t seated right. Most Keurig models won’t start unless the reservoir is locked into place. Push it down until it clicks.
Your Keurig might not work if the water tank isn’t properly attached, the power cord is loose, or the pod lid isn’t fully closed.
Check the outlet next. Try another appliance in the same socket. If it works, your Keurig might need a reset. Unplug it for 30 seconds, then plug it back in. On some models like the K-Select, hold down the “Strong” and “10oz” buttons together for a few seconds to reset it. That trick saved my morning more than once.
To reset a Keurig, unplug it for 30 seconds or press specific buttons—usually listed in the manual—for a soft reset.
And don’t forget the pod. If it’s off-center or the lid isn’t fully closed, the machine won’t brew. Make sure everything’s in place. When all else fails, give it a fresh start with a clean water-only cycle.
Why Is My Keurig Not Brewing?
You press “Brew”… and nothing. No sound, no drip, just silence. I’ve stood there in my pajamas, coffee-deprived and confused. Most of the time, it’s a clogged needle. That little part under the lid can get stuck with coffee grounds. A quick fix? Bend a paperclip and gently poke it to clear the hole.
If your Keurig isn’t brewing, the needle may be clogged—use a paperclip to gently clean it out.
Another common issue is scaling. If you’ve been using tap water for a while, minerals can build up inside the machine. When that happens, it won’t brew or may only give you a half-cup. You’ll need to descale it with vinegar or Keurig’s cleaner. I do this every couple of months, and it makes a huge difference.
Mineral buildup inside the machine can block the flow—descale every 2–3 months to keep it running.
Also, double-check the water level. If the tank is low, it might not start. Some models will flash a light or beep, but others just stay silent. A quick refill can solve it.
A low water level or misaligned reservoir can also stop your Keurig from brewing.
When nothing else works, unplug the machine, give it a minute, and try again. Most issues come down to something simple.
FAQs – Quick Answers for Voice Search
Q: How do you use a Keurig step by step?
It’s easy once you get the hang of it. First, plug in your Keurig and fill the water tank. Next, turn it on. Drop in a K-Cup pod or use ground coffee in a reusable filter. Pick your cup size and press “Brew.” In under a minute, your coffee is ready. That’s it—no mess, no fuss.
Q: How do I turn on a Keurig K-Select?
Just press the power button—it’s on the top right. The lights will blink while it warms up. Wait a few seconds. Once the lights stop blinking, it’s ready to brew. If nothing happens, check the plug or the water tank.
Q: Can I use ground coffee in a Keurig?
Yes, you can! You’ll need a reusable K-Cup. Scoop in one to two tablespoons of ground coffee. Place it where a pod would go. Close the lid and brew like normal. I do this when I want to use my favorite blend.
Q: How do you use a Keurig Mini or K-Mini Plus?
Fill the back with fresh water before each brew. Add a pod or use a reusable filter. Pick your cup and place it under the spout. Hit “Brew.” It only makes one cup at a time. So what you pour in is what you get out.
Q: Can I use my Keurig without pods?
You can! Get a reusable K-Cup. Add your own ground coffee—just don’t overfill it. Place it where you’d put a pod. Close the lid and brew like usual. It’s a great way to cut waste and save money.
Q: What’s the best way to clean my Keurig?
Run hot water through it once a week. No pod—just water. Every 2–3 months, do a deep clean with vinegar or Keurig’s descaler. Also, clean the needle. I use a paperclip to poke out any gunk. Your coffee will taste way better.
Q: What’s the difference between Keurig and Ninja coffee makers?
Keurig is quick and easy. You pop in a pod and press a button. Ninja gives you more control. You use ground coffee, set the size, and even program it to brew later. I use my Keurig on busy days and the Ninja when I want to slow down and enjoy.
Bonus Tips – Cleaning and Maintenance for a Better Brew
Want better coffee? Keep your Keurig clean. It’s like washing a cup before you pour. Clean gear, clean taste.
How to Descale
Hard water leaves stuff behind. This build-up can block the flow and change the flavor.
Fill the water tank with white vinegar or Keurig’s descaler. Run a few brew cycles. Then let it sit for 30 minutes.
After that, rinse with fresh water. Do this every few months. Your coffee will taste fresher.
How to Clean the Needle
If your Keurig stops brewing or makes strange sounds, the needle may be clogged. This is the part that pierces the pod.
Turn off the machine. Use a paperclip to clean the tiny hole in the needle.
It’s fast and simple. I fixed mine in two minutes once. It made a big difference.
When to Replace Filters
Some Keurigs have a water filter. This helps remove bad taste from tap water.
Change the filter every 60 days or after 60 uses.
It’s a small step, but it helps a lot. Your coffee will taste clean and smooth.
Clean your Keurig like you clean your kitchen. A bit of effort keeps things fresh.
This is a key part of knowing how to use a Keurig coffee maker the right way.
👋 Conclusion
Using a Keurig is easy. You just need to know the steps. Pick your model. Fill the water tank. Put in a pod—or use ground coffee. Press a button. That’s it.
I’ve tried many Keurig models. Some were big. Some were tiny. All of them made good coffee once I got the hang of it.
Even when mine acted up, I fixed it fast. A needle clean or a water refill often did the trick. Most problems have quick fixes.
So, don’t stress. Once you learn how to use a Keurig coffee maker, your mornings get better.
Have a tip or a problem? Drop it in the comments. I’d love to help!
👉 Check out:
- Best Keurig Pods
- How to Clean a Keurig
- Keurig vs Ninja
Here’s to hot coffee. Fast. Simple. Tasty.
To Get More About Home and Kitchen Product You Can Visit Our Site. If You Found our Posts Helpful Leave a Comment Below