
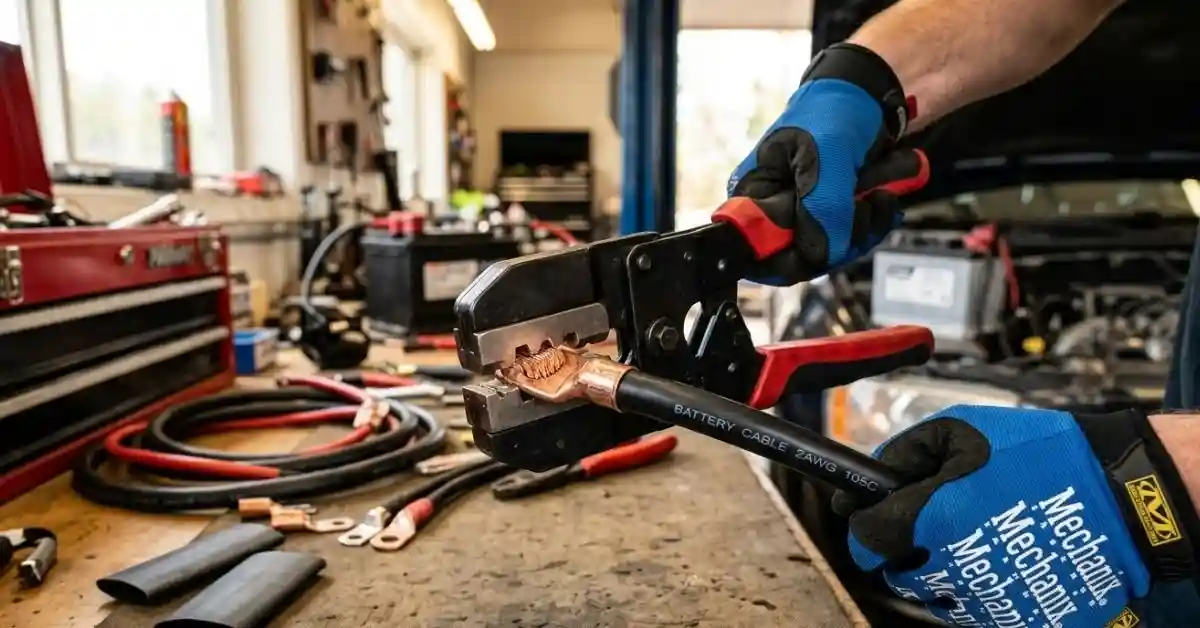
If you need to know How to Crimp a Battery Cable, the goal is simple: make a tight, clean connection that can carry high current without getting hot or coming loose. A poor crimp can cause hard starts, voltage loss, heat, and even damage.
I have found that the crimp itself is only part of the job. The cable size, lug size, crimp tool, cable cut, and final check all matter. In this guide, I’ll walk through the process in a simple way, including the mistakes that are easy to miss.
What You Need to Crimp a Battery Cable
Before learning How to Crimp a Battery Cable, it helps to have the right tools. You do not need a huge tool kit, but the few tools you use should match the cable.
The biggest lesson here is not to improvise with a weak tool. Battery cables can carry a lot of current.
| Tool or Part | What It Does |
| Battery cable | Carries current between battery and equipment |
| Cable lug | Connects the cable to a battery or terminal |
| Cable cutter | Makes a clean, square cut |
| Cable crimper | Compresses the lug onto the cable |
| Heat-shrink tubing | Helps seal and protect the connection |
A basic pair of pliers is not a battery cable crimper. Pliers may squeeze the lug, but they may not create enough pressure for a solid electrical connection.
Choose the Right Battery Cable Size
Cable size matters more than many beginners expect. A cable that is too small may heat up under heavy load.
The right size depends on the current and cable length. Starter cables often need a much larger cable than a small accessory circuit.
| Cable Size | Common Use |
| 8 AWG | Smaller power circuits |
| 4 AWG | Medium to high-current use |
| 1/0 AWG | Heavy starting and power systems |
These are only general examples. Always match the cable to the actual current, length, and equipment.
Match the Lug to the Cable
The lug must fit the cable size. A 4 AWG lug should not be used with 1/0 cable just because the hole fits the terminal stud.
Look at the lug marking before you start. Many quality lugs show the cable size on the barrel.
| Match | Result |
| Correct cable + correct lug | Proper fit |
| Small cable + large lug | Weak connection |
| Large cable + small lug | Cable may not enter |
| Wrong lug material | Possible corrosion issues |
If the cable slides deep into the lug with no room to spare, that is usually a good sign. If the fit feels sloppy, stop and check the sizes.
How to Crimp a Battery Cable Step by Step
Now we can get into How to Crimp a Battery Cable. The process is not hard, but small details can make a big difference.
I like to slow down at the cutting and stripping stages. A rushed job often starts with a bad cable end.
1. Disconnect the Battery
Always disconnect power before working on a battery cable.
For a typical vehicle battery, remove the negative cable first. Keep the loose cable away from the battery post so it cannot touch it by accident.
If the battery is part of a larger system, follow the equipment maker’s shutdown procedure.
2. Measure and Cut the Cable
Measure the cable before cutting it.
Give yourself enough length for a clean connection. At the same time, avoid making the cable much longer than needed.
Use a proper cable cutter for large wire. A clean, square cut makes the next step much easier.
| Cutting Problem | Why It Matters |
| Jagged cut | Strands may not enter the lug well |
| Angled cut | Cable may sit unevenly |
| Crushed end | Makes insertion harder |
| Clean square cut | Gives the best starting point |
One mistake I try to avoid is cutting the cable with a tool that crushes the end. It can make a large cable look messy before the crimp even begins.
3. Strip Only as Much Insulation as Needed
Slide the lug over the cable to see how deep the wire must go. Then strip only enough insulation for the bare copper to fill the lug barrel.
Do not strip a long section of insulation.
You want the copper to sit inside the barrel while the insulation stays close to the lug.
4. Do Not Cut the Copper Strands
This is a small detail with a big effect.
When stripping thick battery cable, avoid nicking or cutting the copper strands. Lost strands reduce the amount of copper making the connection.
If you damage the strands, cut that section off and start again.
5. Slide the Cable Into the Lug
Push the cable fully into the lug barrel.
The copper should reach the end of the barrel. The insulation should stop close to the barrel opening.
Do not crimp it yet. First, look at the cable from both sides.
You should not see a large gap between the cable insulation and lug barrel.
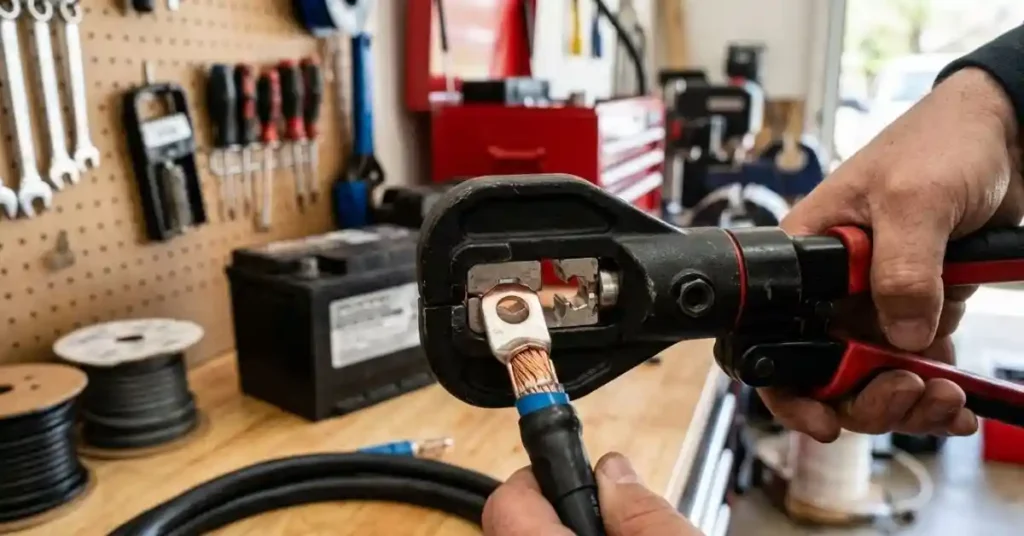
How to Crimp a Battery Cable With a Proper Crimper
The crimper does the most important part of the job. It compresses the lug around the cable so the copper and lug form a strong electrical connection.
A proper crimper gives you far more control than squeezing the lug with pliers or a hammer.
Pick the Right Crimping Tool
There are several types of cable crimpers. They are not all equally useful for large battery cables.
| Crimper Type | Best Use |
| Hand crimper | Smaller cables |
| Hydraulic crimper | Large battery cables |
| Hammer crimper | Occasional heavy cable work |
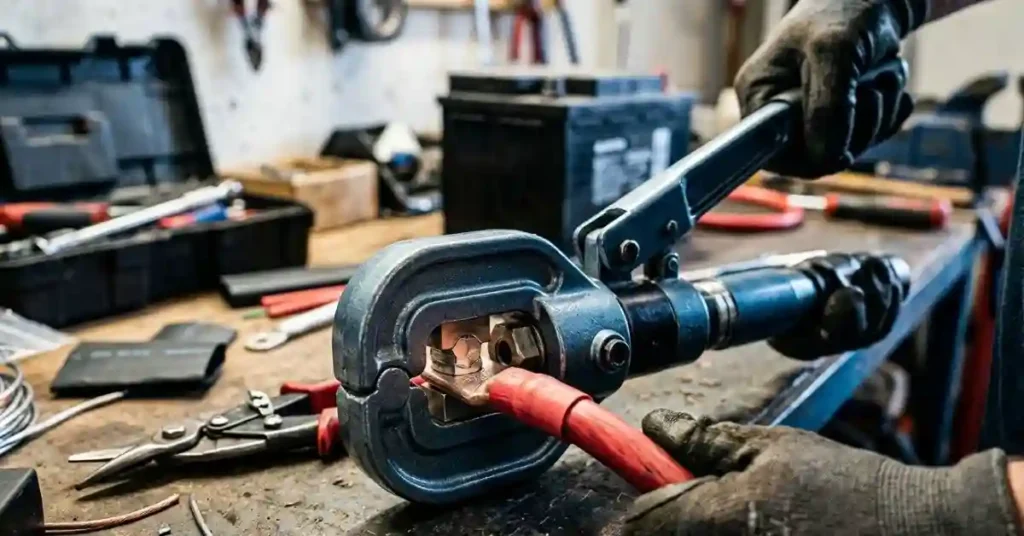
For large automotive battery cables, a hydraulic crimper is often easier to use. It can apply strong, even pressure without requiring as much hand force.
Position the Lug Correctly
Place the lug barrel in the crimper according to the tool maker’s instructions.
Some lugs have a specific crimp area or marking. If the lug has instructions, follow them.
Do not randomly crush the barrel in several places. The crimp pattern should match the lug and crimper.
Make the Crimp
Close the tool firmly and complete the crimp.
With a hydraulic tool, pump until the tool reaches its specified stopping point. With other tools, use the correct die and pressure method for that crimper.
The goal is a firm compression, not a badly flattened lug.
| Good Crimp | Poor Crimp |
| Firm and even | Loose |
| Cable cannot pull out | Cable moves |
| Lug keeps its shape | Lug is badly crushed |
| No damaged strands | Strands are cut |
A good crimp should not need glue, solder, or guesswork to hold the cable in place.
Should You Solder a Crimped Battery Cable?
This is one of the most common questions around battery cable repair.
For many heavy cable applications, a correctly made mechanical crimp is the main connection method. Adding solder is not automatically an improvement.
Solder can change how the cable flexes near the lug. The best method depends on the lug, cable, application, and manufacturer’s instructions.
Crimp vs. Solder for Battery Cables
| Method | Main Benefit | Main Concern |
| Proper crimp | Strong mechanical connection | Needs correct tool |
| Solder | Good electrical bonding | Can make cable less flexible |
| Crimp + solder | Used in some special setups | Not always needed |
For a normal battery cable, I would focus first on getting the crimp itself right. Do not use solder to hide a loose crimp.
Seal the Battery Cable Crimp
After crimping, protect the joint.
Heat-shrink tubing is a simple way to cover the exposed area and help keep out moisture and dirt.
Slide the tubing onto the cable before making the crimp if the lug design allows it. Once the lug is installed, you may not be able to slide it over the connector.
Use heat carefully. You want the tubing to shrink, not the cable insulation to melt.
Why Moisture Protection Matters
A battery cable may live in a rough area. Engine heat, water, dirt, vibration, and road salt can all affect the connection.
A sealed joint gives the copper and lug better protection.
| Environment | Useful Protection |
| Dry engine bay | Basic heat shrink |
| Wet area | Adhesive-lined heat shrink |
| Marine use | Proper sealed marine-grade connection |
| Dirty work area | Sealed connection plus clean routing |
How to Test a Crimped Battery Cable
Never assume a crimp is good just because it looks good.
A simple physical check can catch many problems.
Hold the cable and lug firmly. Try to move the cable without using extreme force. The cable should stay firmly attached.
You can also inspect the barrel for cracks, uneven crushing, or exposed strands.
Check for Voltage Drop
For high-current systems, voltage-drop testing can reveal problems that a visual check misses.
A poor connection can create resistance. When high current flows, that resistance can cause a noticeable voltage drop and heat.
If a starter cable connection becomes hot during cranking, stop and inspect it.
| Symptom | Possible Cause |
| Slow cranking | Cable or connection problem |
| Hot lug | High resistance |
| Intermittent power | Loose connection |
| Corrosion near lug | Moisture entry |
Do not keep using a connection that gets unusually hot. Find the cause before putting the system back into normal use.
Common Battery Cable Crimping Mistakes I Avoid
Most bad crimps are not caused by complicated mistakes. They usually come from rushing.
I pay extra attention to the cable cut, lug fit, and crimp tool because those three areas cause many problems.
Using the Wrong Crimper
A cheap or poorly matched tool may not create enough pressure.
The lug can look squeezed while the cable remains loose inside.
Using the Wrong Lug
A lug can fit the battery stud perfectly and still be wrong for the cable.
The cable size and lug barrel must match.
Stripping Too Much Insulation
A long exposed section leaves copper vulnerable to moisture and accidental contact.
Strip only what the lug needs.
Crimping Over the Insulation
The crimp should grip the conductor inside the lug barrel. Do not place the main crimp over the insulated part of the cable.
| Mistake | Better Approach |
| Use pliers | Use a proper cable crimper |
| Guess cable size | Match cable and lug markings |
| Cut strands | Strip insulation carefully |
| Strip too much | Expose only the needed copper |
| Skip the test | Inspect and tug-check the joint |
How to Fix a Loose Battery Cable Crimp
If the cable moves inside the lug, do not simply crimp it again in the same spot.
The better fix is to cut off the bad lug and start with a fresh one.
That may feel wasteful, but a battery cable carries serious current. Saving one lug is not worth keeping a questionable connection.
When to Replace the Whole Cable
Sometimes the problem is not just the lug.
Replace more of the cable if you see:
- Green or black corrosion deep inside the strands
- Melted insulation
- Burn marks
- Broken strands
- Severe oxidation
- Heat damage near the terminal
If corrosion has traveled far into the cable, cutting off a tiny section may not solve the problem.
Battery Cable Crimping Tips for Long-Term Reliability
A good crimp should last, but the cable still needs proper installation.
Keep the cable away from sharp edges and hot exhaust parts. Avoid tight bends right next to the lug.
Give the cable enough support so vibration does not constantly pull on the connection.
Keep Stress Off the Lug
The lug should connect the cable, not act as a handle.
If the cable is pulling sideways on the battery post, change the cable route or add proper support.
| Installation Issue | Better Practice |
| Cable bends sharply at lug | Use a gentle bend |
| Cable rubs metal | Add protection |
| Cable hangs from terminal | Support the cable |
| Cable touches exhaust | Reroute it |
| Terminal is dirty | Clean before assembly |
Can You Crimp a Battery Cable Without a Hydraulic Crimper?
Yes, depending on the cable size and the tool you have.
Small cables may work well with a suitable hand crimper. Large battery cables are often easier to crimp with a hydraulic tool.
A hammer-style crimper can also work for some heavy cables when used correctly. But it needs a solid work surface and careful placement.
The important part is not the name of the tool. The crimper must match the cable and lug and create the compression required by the connection.
How to Know If Your Battery Cable Crimp Is Good
A good final inspection does not take long.
The cable should sit straight in the lug. The crimp should look even. The cable should not pull out. There should be no badly damaged strands or cracked metal.
If the connection looks questionable, redo it.
That simple habit can save a lot of frustration later.
Final Thoughts
Learning How to Crimp a Battery Cable is mostly about doing a few simple things correctly. Use the right cable, match the lug, make a clean cut, strip carefully, use the right crimper, and check the finished joint.
The biggest lesson is not to rush the connection. A battery cable may look simple, but a poor crimp can create resistance, heat, and unreliable power. Take a few extra minutes to inspect it, protect it, and make sure the cable is secure before putting the system back into service.
How to Crimp a Battery Cable FAQs
1. What tool is best for crimping a battery cable?
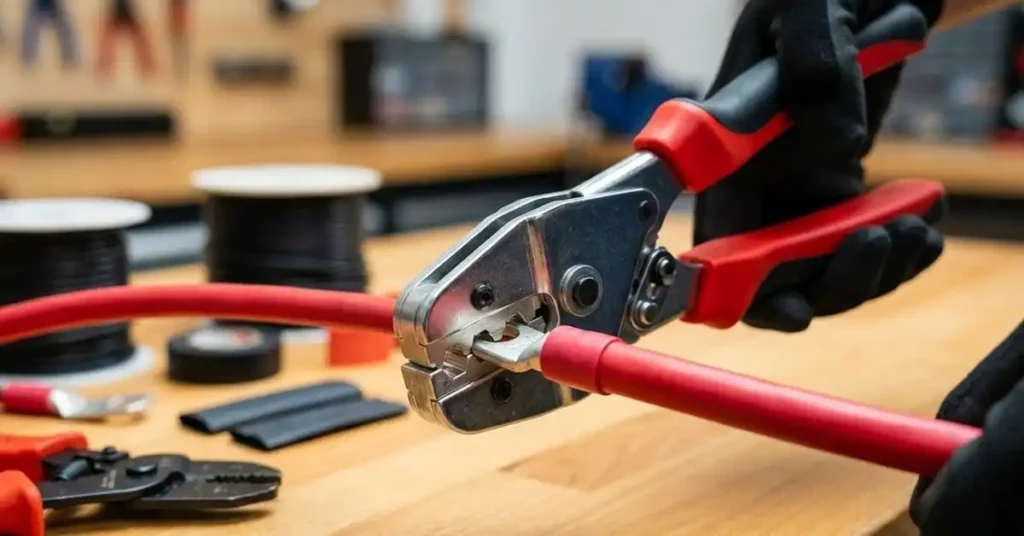
A hydraulic crimper works well for large battery cables. Use a hand crimper for smaller cables. Always match the crimper die to the cable and lug size.
2. Can you crimp a battery cable without a hydraulic crimper?
Yes. A good hand or hammer crimper can work for some battery cables. Pick a tool that fits the cable size and can make a firm, even crimp.
3. How do you know if a battery cable crimp is good?
A good battery cable crimp feels tight and looks even. The cable should not move or pull out of the lug when you check it by hand.
4. Should you solder a crimped battery cable?
A proper battery cable crimp often does not need solder. A good crimp gives a strong joint. Follow the lug and tool maker’s guide for special uses.
5. What size lug do you need for a battery cable?
Choose a lug that matches the battery cable size and terminal stud. The cable should fit snugly inside the lug with no loose strands or large gaps.
To Get More About Home, Car Tools Product You Can Visit Our Site. If You Found our Posts Helpful Leave a Comment Below