
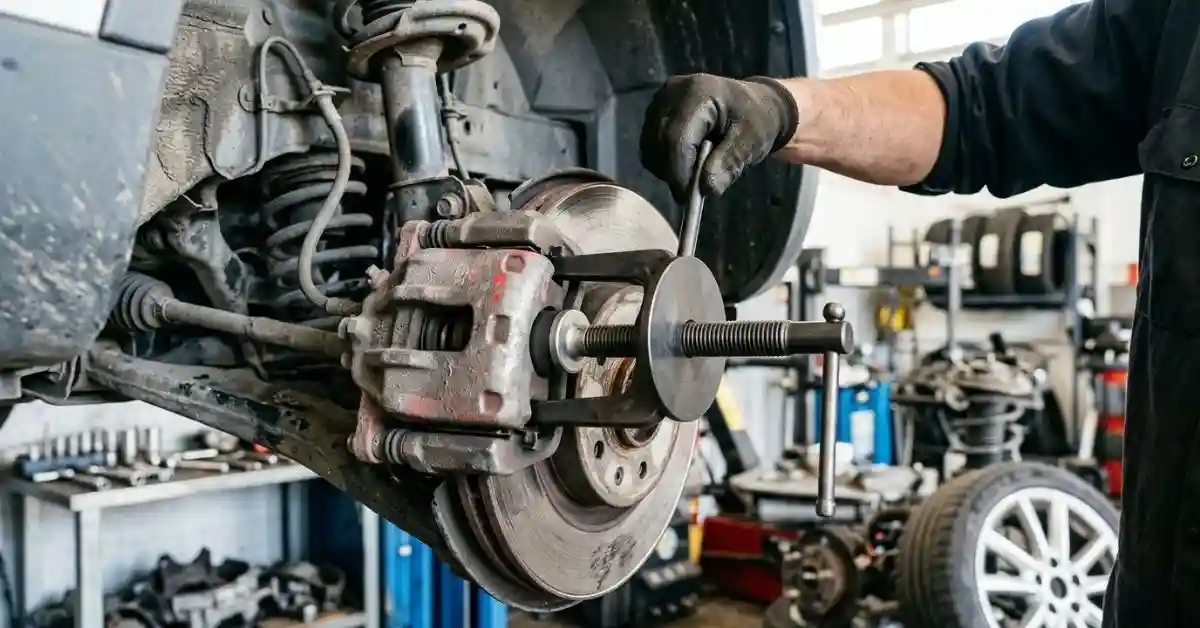
Learning How to Use Brake Piston Tool can make brake pad changes much easier. The right tool helps you push or wind the caliper piston back without damaging parts. But one wrong move can turn a simple brake job into an expensive repair.
When I first looked into brake piston tools, one thing stood out: not every caliper piston works the same way. Some push straight in. Others need to turn as they retract. Choosing the wrong method is where many DIY brake jobs go wrong.
In this guide, I’ll explain how to use a brake piston tool, how to choose the right adapter, common mistakes to avoid, and what to check before driving. You’ll also learn why electronic parking brakes need extra care.
What Is a Brake Piston Tool and When Do You Need One?
A brake piston tool helps retract the piston inside a disc brake caliper. You usually need this when installing new brake pads.
As brake pads wear, the caliper piston moves outward. New pads are thicker, so the piston must move back to create enough space. The tool makes this job easier and helps keep the piston aligned.
There are two main types of piston movement. Knowing the difference saves time and prevents damage.
| Piston type | How it retracts |
| Standard piston | Pushes straight into the caliper |
| Screw-in piston | Turns and pushes inward |
| Electronic parking brake piston | Requires the correct electronic service procedure |
Push-In vs. Wind-Back Brake Pistons
A standard caliper piston moves straight back into its bore. You may use a piston compression tool for this type.
Many rear calipers with integrated mechanical parking brakes use a threaded mechanism. These pistons need a wind-back tool that turns the piston while applying inward pressure.
I used to think a stronger tool could handle any piston. That is not how it works. The tool must match the caliper design, not just the piston size.
How Do You Know Which Tool You Need?
Check your vehicle’s repair manual before starting. Do not rely only on the piston face or the tool kit’s appearance.
| Vehicle setup | Typical approach |
| Front caliper with standard piston | Compression tool |
| Rear caliper with mechanical parking brake | Wind-back tool |
| Rear caliper with electronic parking brake | Manufacturer-specified EPB service procedure |
These are general patterns, not rules for every vehicle. Always confirm the correct procedure for your exact make, model, and year.
What You Need Before Using a Brake Piston Tool
Good preparation makes the actual job much smoother. It also helps you spot problems before you apply force to the piston.
Before starting, gather the tools and safety equipment you need.
Tools and Safety Equipment Checklist
- Correct brake piston tool or wind-back kit
- Vehicle repair manual
- Floor jack and suitable jack stands
- Wheel chocks
- Socket set and suitable hand tools
- Caliper support hook or strong wire
- Brake cleaner and clean cloth
- Safety glasses and gloves
- Correct replacement brake pads
Never rely on a jack alone to support a vehicle. Use jack stands on a suitable, stable surface.
Check the Brake Fluid Reservoir
Retracting a piston can push brake fluid back toward the master cylinder reservoir. Check the fluid level before you begin.
If the reservoir is near its maximum mark, follow the vehicle manufacturer’s guidance. Fluid may overflow as the piston retracts.
| Check | Why it matters |
| Brake fluid level | Helps prevent overflow |
| Piston dust boot | May show damage or dirt |
| Parking brake status | Prevents interference during service |
Do not automatically open the bleeder valve. Some brake service procedures allow fluid to flow back through the system, while others may call for a different method. Follow the manufacturer’s instructions.
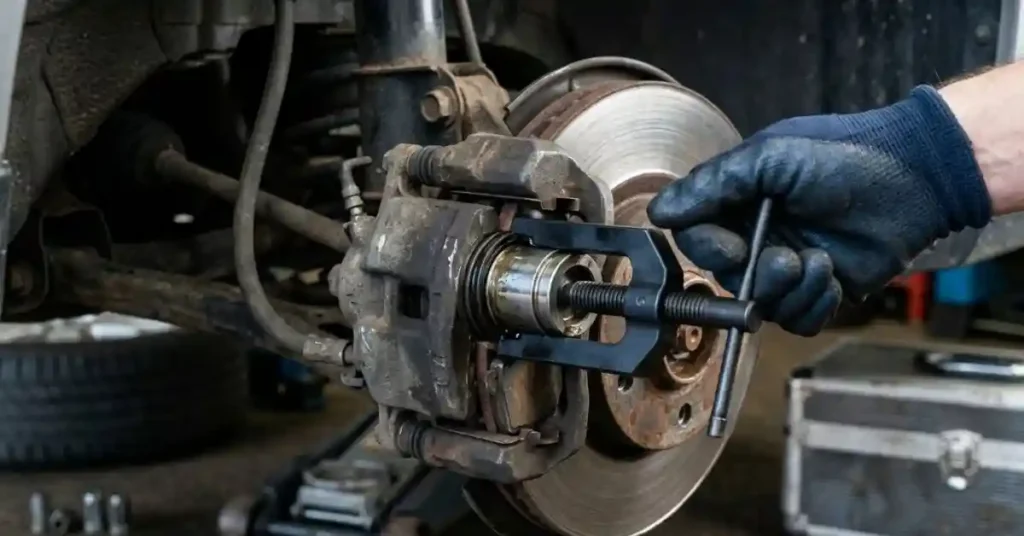
How to Use Brake Piston Tool Step by Step
Now let’s walk through the main process. The exact steps vary by caliper design, but the following workflow covers the common mechanical types.
Step 1: Secure the Vehicle and Remove the Wheel
Park on level ground. Engage the appropriate transmission setting and use wheel chocks.
Follow the manufacturer’s instructions for releasing the parking brake. Raise the vehicle using approved lifting points, then support it with jack stands.
Remove the wheel and inspect the brake assembly.
Look for:
- Uneven pad wear
- Damaged rubber boots
- Brake fluid leaks
- Corrosion
- A damaged brake hose
If you find a serious fault, stop and resolve it before continuing.
Step 2: Remove the Caliper and Old Brake Pads
Follow the vehicle-specific procedure for removing the caliper. Do not let it hang from the brake hose.
Support the caliper with a suitable hook or support. Remove the old pads and inspect the caliper bracket and hardware.
Before touching the piston, look at its face. Does it have a flat surface? Are there grooves or pins? Does the repair manual call for a special adapter?
These details help you identify the correct tool.
Step 3: Clean the Piston Area
Use a suitable brake cleaner and a clean cloth to remove loose dirt from the exposed area.
Be careful around the rubber dust boot. Do not damage it with sharp tools or excessive force.
Dirt around the piston can cause problems if it gets past a damaged seal. A quick inspection now is worth more than rushing to finish.
Step 4: Select the Correct Adapter
This step is easy to overlook.
Wind-back kits often include several adapter plates. Each one may have a different pin pattern or size.
Choose the adapter that fits the piston face correctly.
| Adapter problem | What can happen |
| Wrong pin pattern | Tool may slip |
| Poor alignment | Uneven force |
| Loose engagement | Damage to piston face |
Do not force an adapter that does not fit. If it does not engage properly, stop and check the tool instructions.
Step 5: Position the Brake Piston Tool
For a standard push-in piston, position the compression tool so it applies force straight against the piston.
For a screw-in piston, install the correct adapter and reaction plate. Make sure the tool is aligned with the piston centerline.
The reaction plate should rest securely against the appropriate part of the caliper. Avoid placing pressure on the brake hose or fragile components.
The tool should feel stable before you start turning it.
Step 6: Retract a Standard Push-In Piston
If your vehicle uses a standard push-in piston, turn the tool slowly to apply steady pressure.
Keep the tool straight. Watch the piston and dust boot as it moves.
You should not need to force the tool aggressively. If the piston refuses to move, stop and check for:
- Incorrect tool placement
- A seized piston
- A damaged caliper
- A procedure that requires a different method
A C-clamp may work on some standard pistons, but it is not a universal substitute for a suitable brake tool.
Step 7: Wind Back a Screw-In Piston
A screw-in piston needs a different technique.
Fit the correct adapter into the piston grooves. Position the reaction plate securely. Then turn the tool according to the specified direction.
The piston must rotate while moving inward. Some designs require clockwise rotation, while others use counterclockwise rotation. Never guess the direction.
Apply smooth, controlled force.
If the piston binds or the tool slips, stop. Check the adapter, alignment, and manufacturer’s instructions.
Do not use a standard C-clamp to force a screw-in piston straight inward. This can damage the internal mechanism.
How to Use Brake Piston Tool on Electronic Parking Brakes
Electronic parking brakes (EPB) need special attention. This is the part I would never rush.
An EPB caliper uses an electric motor and mechanical mechanism to apply the parking brake. The correct service procedure usually requires placing the system into service or maintenance mode before working on the piston.
Why a Normal Wind-Back Tool May Not Be Enough
With an EPB system, the motor may still be connected to the piston mechanism.
Trying to force the piston manually without following the proper release procedure can damage the actuator or internal parts.
The correct approach depends on the vehicle.
| EPB situation | Recommended action |
| Electronic parking brake fitted | Check the service procedure |
| Service mode required | Use the specified scan tool or method |
| Manual retraction permitted | Follow the exact manufacturer instructions |
Put the EPB Into Service Mode
Some vehicles require a compatible scan tool to command the parking brake into service mode.
The general process may include:
- Connect the appropriate diagnostic tool.
- Select the vehicle and EPB service function.
- Follow the instructions to retract the actuator.
- Confirm the system has entered the required service position.
- Perform the brake work according to the repair procedure.
The exact sequence varies by manufacturer. Do not assume that switching the ignition off is enough.
After the brake work, follow the instructions for exiting service mode and reactivating the parking brake. Some systems also require initialization or calibration.
Common Mistakes When Using a Brake Piston Tool
Small mistakes can cause big problems during brake service. Here are the ones I would pay the most attention to.
Mistake 1: Using the Wrong Tool
Not every piston can be pushed straight in.
Better approach: Identify the caliper type first. Check the service manual before selecting the tool.
Mistake 2: Applying Too Much Force
A piston that needs gentle, controlled movement should not require extreme force.
Better approach: Stop if the piston binds. Check the adapter and direction. Investigate possible mechanical faults.
Mistake 3: Ignoring the Dust Boot
The rubber boot protects the piston area from dirt and moisture.
Better approach: Inspect it before and after retracting the piston. Replace damaged parts according to the repair procedure.
Mistake 4: Forgetting the Parking Brake System
A mechanical or electronic parking brake changes the piston procedure.
Better approach: Confirm whether the rear caliper has an integrated parking brake and follow the correct service instructions.
| Common mistake | Better approach |
| Guessing piston direction | Check the repair manual |
| Forcing a stuck piston | Stop and inspect |
| Letting the caliper hang | Support it properly |
| Ignoring EPB requirements | Follow the service procedure |
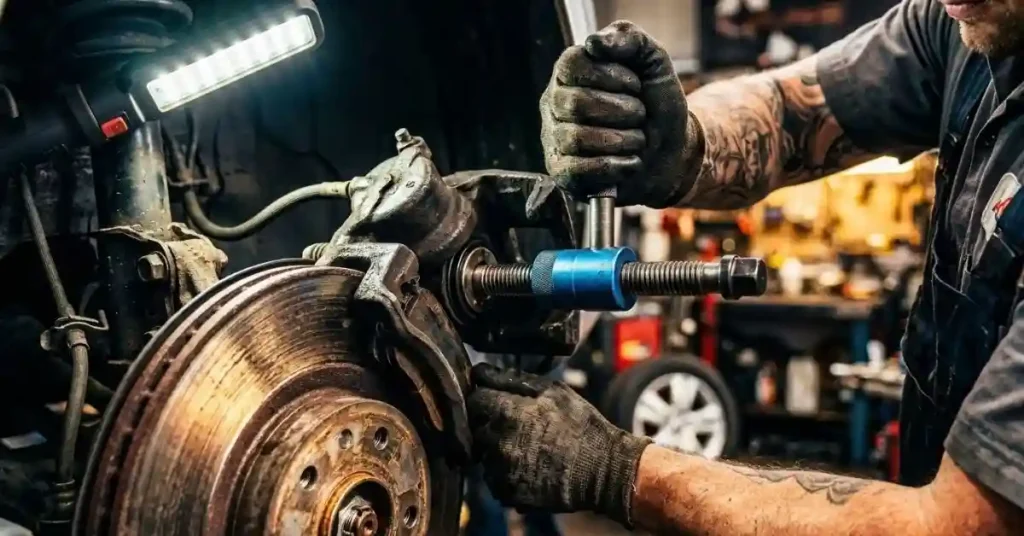
What to Do If the Brake Piston Will Not Retract
A piston that will not move is a warning, not a challenge to use more strength.
First, stop turning the tool. Then check the basics.
Troubleshooting Brake Piston Problems
| Problem | Possible cause |
| Piston will not move | Wrong method or seized piston |
| Tool keeps slipping | Incorrect adapter or alignment |
| Piston rotates but does not retract | Incorrect procedure or internal fault |
| EPB will not release | Service mode or actuator issue |
These symptoms do not prove a single fault. A qualified inspection may be needed.
Do not continue if the tool damages the piston face or the dust boot. Replacing a damaged component is safer than trying to finish a questionable repair.
When Should You Stop the Job?
Stop and seek professional help if you notice:
- A leaking caliper
- A badly corroded piston
- A damaged brake hose
- A seized mechanism
- An EPB fault you cannot resolve
- Uncertainty about the correct service procedure
Brakes are not the place to experiment with force.
Brake Piston Tool vs. Other Retraction Methods
You may wonder whether a brake piston tool is always necessary.
The answer depends on the caliper design and the manufacturer’s procedure.
Is a C-Clamp a Good Alternative?
A C-clamp can work on some standard push-in pistons. However, it is not suitable for every brake caliper.
A dedicated compression tool may provide better control and alignment. A wind-back tool is designed for pistons that must rotate as they retract.
| Method | Suitable use |
| Brake compression tool | Standard push-in piston |
| C-clamp | Certain standard pistons, when permitted |
| Wind-back kit | Compatible screw-in pistons |
Do not choose a method based only on convenience. The caliper’s design comes first.
Checks to Complete Before Driving
Retracting the piston is only one part of a brake pad replacement.
After fitting the pads and reassembling the brake components, follow the manufacturer’s final inspection procedure.
Pump the Brake Pedal
When the caliper has been reassembled, the piston may need to move back into position against the new pads.
Follow the service instructions for restoring pedal pressure. Do not drive until the brake pedal feels firm and the brake system has been checked.
Never press the brake pedal while a caliper piston is removed or improperly positioned. It can cause the piston to come out and release brake fluid.
Inspect the Brake Assembly
Before driving, check:
- Caliper bolts and hardware
- Brake pad position
- Brake hose routing
- Brake fluid level
- Wheel installation
- Parking brake operation
If the pedal feels soft or the brake warning light appears, do not treat it as normal. Investigate the cause before driving.
Test the Brakes Carefully
Follow a safe, controlled testing process in an appropriate area.
Start with a stationary check. Then, if the brakes function normally and the repair procedure allows it, perform a cautious low-speed test.
Avoid normal road driving until you are satisfied that the brakes work correctly.
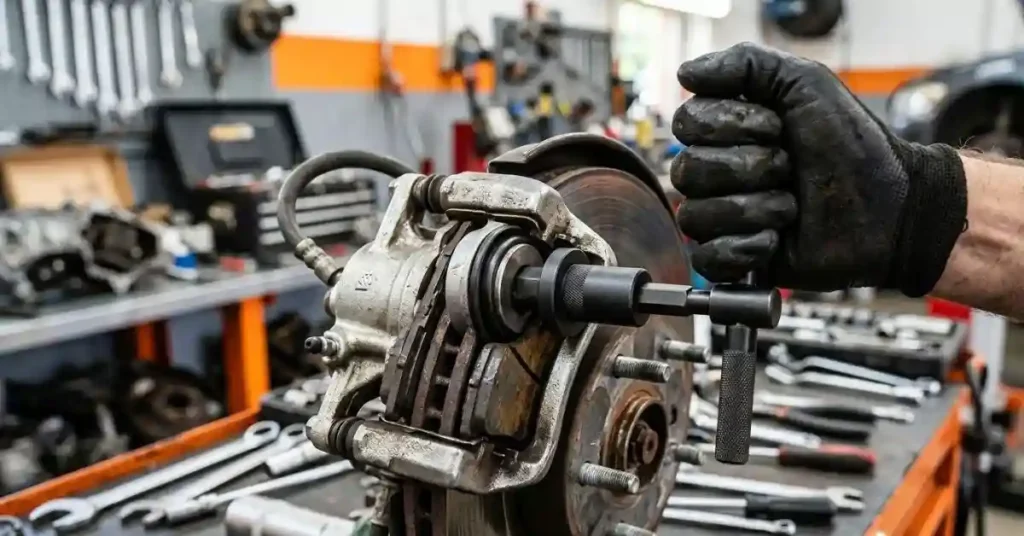
Frequently Asked Questions About Brake Piston Tools
Can I Use a Brake Piston Tool on Any Caliper?
No. The tool must match the caliper’s piston design. Standard push-in pistons and screw-in pistons use different retraction methods.
Which Way Do You Turn a Brake Piston Tool?
The direction depends on the caliper design. Some screw-in pistons retract clockwise, while others require counterclockwise rotation. Check the vehicle’s repair instructions.
Can I Use a C-Clamp Instead of a Brake Piston Tool?
A C-clamp may work on some standard push-in pistons. It should not be used to force a screw-in piston straight inward.
Do Electronic Parking Brakes Need a Special Tool?
Many EPB systems require an appropriate scan tool or manufacturer-specified service procedure. Do not manually force the piston without confirming the correct method.
Why Is My Brake Piston Tool Slipping?
The adapter may be incorrect, poorly aligned, or not fully engaged with the piston. Stop and check the fit before applying more force.
Final Thoughts
Learning How to Use Brake Piston Tool starts with one simple lesson: understand the piston before you turn the tool. A standard piston may push straight in, while a screw-in piston needs rotation. Electronic parking brakes add another layer of care.
I would always take a few extra minutes to check the repair manual, inspect the caliper, and confirm the correct adapter. A slower brake job is far better than damaged components or unsafe braking.
Choose the right tool, work with controlled pressure, and never ignore a problem that does not feel right. When you’re unsure, get help from a qualified brake technician.
To Get More About Home, Car Accessories Product You Can Visit Our Site. If You Found our Posts Helpful Leave a Comment Below