
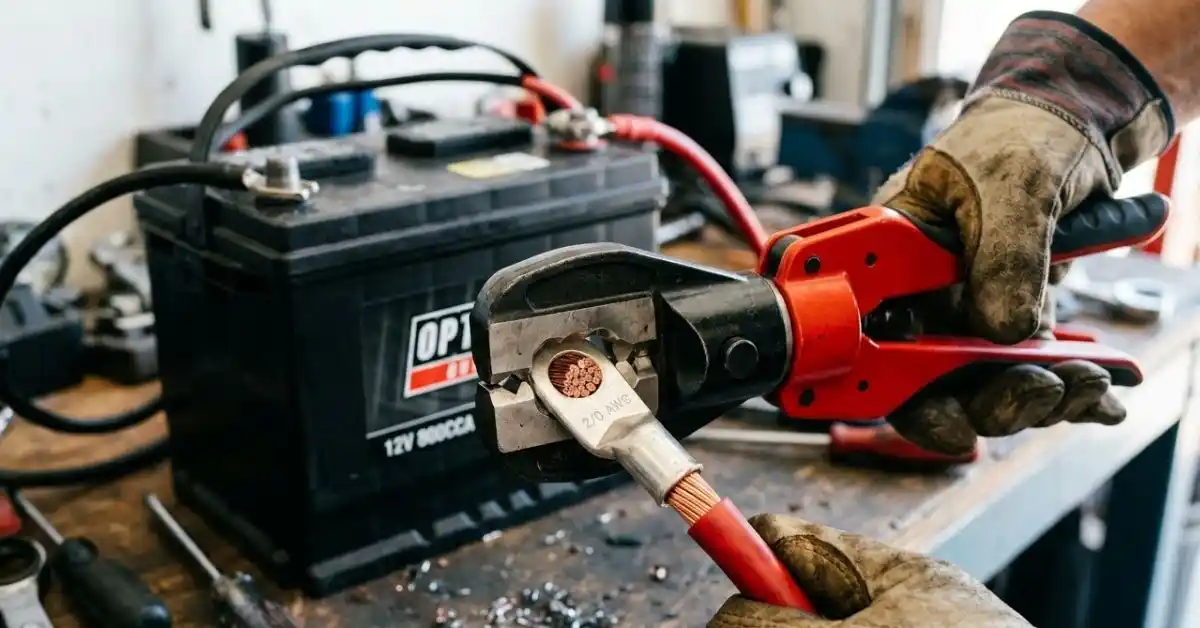
Crimping a battery terminal looks simple. Strip the cable, fit the lug, squeeze it, and move on. I learned pretty quickly that a weak crimp can cause more trouble than a loose bolt. It can heat up, cause voltage drop, and leave you wondering why the starter still acts weak.
In this guide, I’ll walk through how to crimp battery terminals in a practical way. We’ll cover the tools, cable size, terminal fit, crimping methods, common mistakes, and how I check a finished connection before putting it back into service. Proper cable installation matters because a poor connection can hurt battery performance and may even create a fire risk.
What You Need Before You Crimp Battery Terminals
Before I start a battery cable job, I like to lay everything out first. This saves a lot of frustration halfway through the repair.
You do not need a huge tool box. But the tools need to match the cable and terminal.
| Tool or Part | Why It Matters |
| Battery cable | Must be the right size for the current load |
| Correct terminal lug | Must fit the cable and battery connection |
| Cable cutter | Makes a clean, square cable end |
| Wire stripper | Removes insulation without damaging strands |
| Cable crimper | Compresses the lug onto the cable |
| Heat-shrink tubing | Helps seal and protect the finished joint |
I also wear eye protection and use insulated tools around a battery. A battery can deliver very high current if a metal tool creates a short. Battery makers also recommend protective gear and insulated tools when working around batteries.
Choose the Battery Cable Size First
One mistake I see often is buying the terminal first and trying to make the cable fit it.
I prefer to size the cable for the job first. Then I choose a terminal made for that cable size.
Longer cables may also need a larger gauge to limit voltage drop. Cable sizing should match the current the circuit must carry.
| Cable Size | Common Use |
| 8–6 AWG | Smaller electrical loads |
| 4–2 AWG | Many starting and high-current circuits |
| 1–1/0 AWG | Heavy starting or power systems |
These are only general examples. Always check the vehicle or equipment specifications before choosing a cable.
How to Crimp Battery Terminals Step by Step
Once the cable and terminal match, the actual job is quite straightforward. The key is getting a solid mechanical and electrical connection.
1. Disconnect the Battery Safely
Before cutting or crimping a cable that is connected to a vehicle, disconnect the battery.
For many negative-ground vehicles, the negative cable is removed first. Then the positive cable can be removed. Follow the vehicle and battery manufacturer’s instructions for your exact setup.
Keep the loose cable away from the battery post. I also remove jewelry such as rings or metal bracelets before working around high-current battery connections.
2. Cut the Cable Cleanly
Cut the damaged end off with a proper cable cutter.
I avoid crushing the cable with ordinary pliers or side cutters. A clean, flat cut makes the next step much easier.
Look closely at the copper after cutting. If it is badly blackened, green, corroded, or damaged farther down the cable, replacing the cable may make more sense than crimping a new terminal onto it.
| Cable Condition | What I Would Do |
| Clean copper | Continue with the repair |
| Light surface corrosion | Cut back to clean copper |
| Heavy corrosion or damaged insulation | Replace the cable |
Battery manufacturers also recommend inspecting cables for corrosion, acid damage, and insulation damage before reuse.
3. Strip Only the Needed Amount
Now strip the insulation from the cable end.
This part is easy to rush. I used to think exposing a little extra copper would not matter. It does.
You want enough bare copper to fill the terminal barrel without leaving a large section exposed.
Do not cut into the copper strands. Damaged strands reduce the effective cable size.
4. Slide on Heat Shrink Before Crimping
This is one of those tiny steps that is easy to forget.
Slide the heat-shrink tube over the cable before you install the terminal.
I have learned this lesson the annoying way. Once the terminal is tightly crimped, the heat shrink is not going through it. If you forget it, you may have to undo the whole job.
Choose heat shrink that fits over the cable and terminal barrel.
5. Insert the Cable Into the Terminal
Push the stripped cable fully into the terminal barrel.
The copper should fill the barrel properly. Do not force a cable into a terminal that is clearly too small.
At this point, I give the cable a quick visual check. I want to see the copper fully inside the barrel and the insulation close to the barrel opening.
How to Crimp Battery Terminals With a Hand Crimper
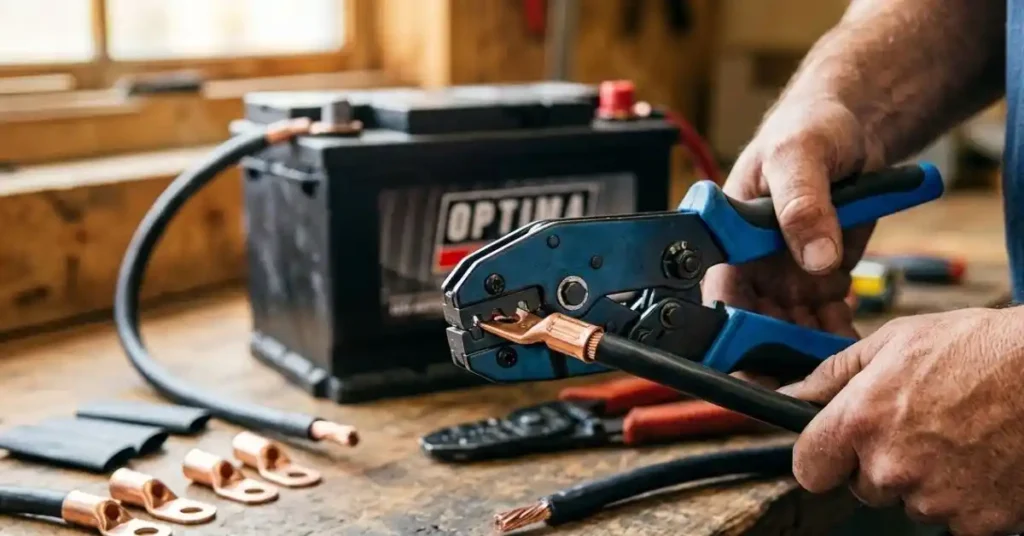
A proper crimper is much better than trying to improvise with a hammer or ordinary pliers.
The crimper should match the cable size and the terminal design.
Place the Terminal in the Correct Crimp Area
Put the terminal into the correct die.
Different crimpers use different markings and shapes. Follow the crimper manufacturer’s instructions rather than assuming one position works for every terminal.
Then make sure the cable has not moved out of the barrel.
Make a Firm Crimp
Squeeze the handles firmly and evenly.
The goal is to compress the terminal barrel around the copper strands. You are not trying to smash the terminal flat.
A good crimp should hold the cable firmly without cutting through the barrel.
For larger battery cables, a hydraulic crimper can make the job much easier. It also gives more consistent force than a small hand tool.
| Crimper Type | Best Fit |
| Small hand crimper | Small cables and light jobs |
| Heavy-duty hand crimper | Medium battery cables |
| Hydraulic crimper | Large battery cables and high-current connections |
How to Tell If a Battery Terminal Crimp Is Good
This is the part I would never skip.
A terminal can look perfect and still have a poor connection. So I check it before installing the cable.
Start with a visual inspection. The terminal should be straight, the barrel should be properly compressed, and the cable should not be loose.
Then give the cable a firm hand pull.
It should not slide out.
Do not rely on the pull test alone. A proper crimp also needs the correct terminal, cable size, and crimp profile.
| Check | What You Want |
| Visual check | Even, clean crimp |
| Pull check | Cable stays firmly in place |
| Copper strands | No major strand damage |
| Insulation | No cuts near the crimp |
If the connection looks questionable, I would rather redo it than hope it works.
Common Battery Terminal Crimping Mistakes I Avoid
Most bad battery cable repairs do not come from complicated problems. They come from small shortcuts.
Using the Wrong Terminal Size
This is one of the biggest mistakes.
A terminal made for a larger cable will not magically become correct because you squeeze it harder.
Likewise, forcing a large cable into a small terminal can damage the strands and terminal.
Crimping Over the Insulation
The copper must be inside the conductor barrel.
If the crimp grabs mostly insulation, the connection can have poor electrical contact.
Leaving Too Much Bare Copper
A little exposed copper may seem harmless.
But excessive exposed copper leaves the connection more open to moisture and corrosion. Keep the stripped area appropriate for the terminal barrel.
Using Pliers Instead of a Crimper
I understand why people do it. Pliers are already sitting in the toolbox.
But a battery cable carries serious current. I would not trust a random squeeze from pliers for a critical connection.
Reusing a Damaged Terminal
If the old terminal is badly corroded, cracked, or deformed, I replace it.
Battery manufacturers recommend replacing damaged cables or clamps, while a damaged battery case or terminal can require battery replacement.
Why Some Battery Terminal Crimps Get Hot
A hot battery connection is a warning sign.
A poor connection creates resistance. When high current flows through that resistance, heat can build up.
This is especially important during engine starting because the starter can draw a very large current.
| Symptom | Possible Cause |
| Terminal gets hot | High resistance at connection |
| Slow cranking | Poor cable or connection |
| Intermittent power | Loose or damaged connection |
| Corrosion returns quickly | Moisture or poor sealing |
Poor cable connections can affect both starting and battery charging.
If a new crimp becomes noticeably hot during normal operation, I would stop and inspect it rather than keep driving and hope it improves.
How to Crimp Battery Terminals for a Reliable Long-Term Repair
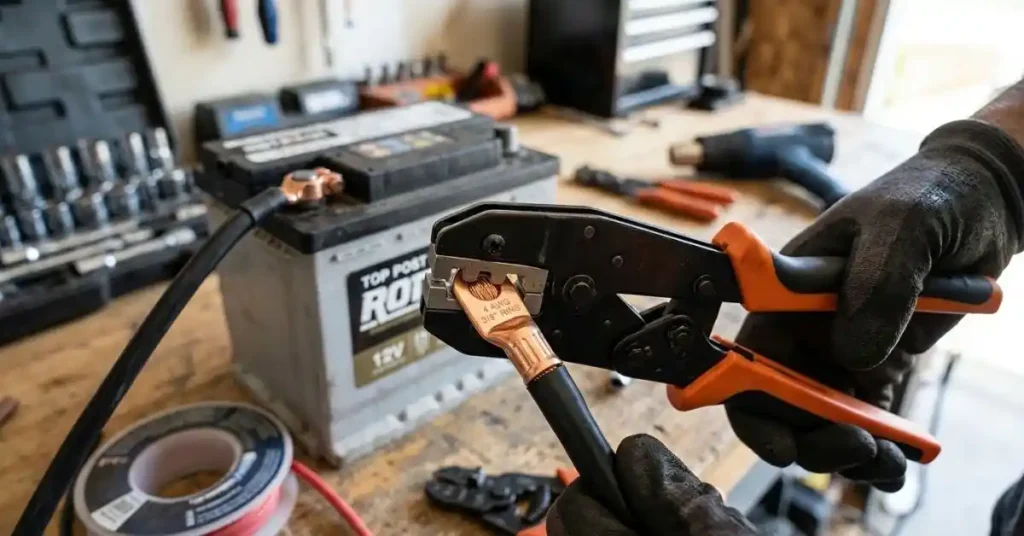
Once the crimp passes inspection, slide the heat shrink over the joint.
Use the correct heat source for the tubing. Do not scorch the cable insulation.
The finished joint should be protected from moisture, dirt, and movement.
I also make sure the cable will not be pulled sideways by its own weight. A beautiful crimp can still fail if the cable constantly bends right at the terminal.
Keep the Cable Supported
Battery cables deal with vibration.
If a heavy cable hangs from the terminal, that movement can slowly stress the connection. Use the original cable supports or suitable clamps where needed.
The cable should reach the battery terminal without being stretched or sharply bent.
Check the Battery Connection Too
A perfect cable crimp will not fix a poor battery connection.
Make sure the terminal fits the battery post or stud correctly. Do not overtighten it just because the connection feels loose.
Over-tightening can damage some battery terminals, while under-tightening can cause poor electrical contact. The correct torque depends on the battery and terminal type, so use the manufacturer’s specification.
Crimping vs Soldering Battery Terminals
People often ask whether they should solder a battery cable after crimping it.
For most battery cable repairs, I focus on getting the correct mechanical crimp rather than treating solder as a fix for a weak crimp.
A proper crimp is designed to create a strong electrical and mechanical connection. Solder should not be used to hide a poor crimp.
| Method | Main Point |
| Proper crimp | Designed for cable-to-terminal connection |
| Solder only | Not a substitute for correct crimping |
| Crimp plus protection | Gives a solid connection with better environmental protection |
If a terminal manufacturer gives a specific installation method, I follow that method.
What I Learned After Crimping Battery Cables
The biggest lesson for me is that the crimp itself is only one part of the job.
The cable must be the right size. The terminal must match the cable. The copper must be clean. The crimp must be firm. The cable must be supported. And the final battery connection must be tightened to the correct specification.
I also stopped trying to save every old cable. If corrosion has traveled deep into the copper or the insulation is damaged, replacing the cable is often the more sensible repair. Battery manufacturers specifically advise replacing cables when deterioration is present.
A Quick Battery Terminal Crimping Checklist
Before I call the job finished, I run through a short checklist.
| Check | Done When |
| Cable size | Matches the application |
| Terminal size | Matches the cable |
| Copper | Clean and undamaged |
| Crimp | Firm and even |
| Pull test | Cable stays secure |
| Heat shrink | Covers the joint |
| Cable routing | No sharp bends or strain |
| Battery connection | Correctly fitted and torqued |
This takes very little time. It can also catch the small mistake that would otherwise leave you stranded later.
Final Thoughts
Learning how to crimp battery terminals is not difficult, but doing it well takes more care than simply squeezing a terminal onto a cable. The right cable, correct terminal, clean copper, proper crimp, and good strain relief all matter.
My biggest advice is simple: do not rush the connection. If the cable is badly corroded or the terminal does not fit right, fix that problem first. A clean, properly crimped battery cable is much easier to trust when you know exactly what went into making it.
How to Crimp Battery Terminals FAQs
1. What tool is best for crimping battery terminals?
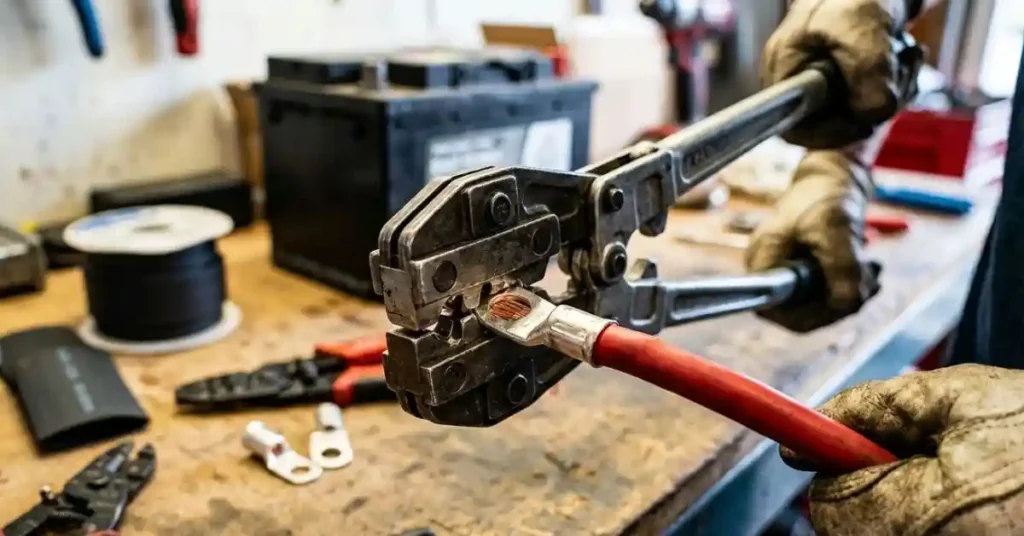
A heavy-duty cable crimper is best for most battery terminals. Use a die that matches the cable size. For large cables, a hydraulic crimper can give a firm, even crimp.
2. How do I know if a battery terminal crimp is good?
A good battery terminal crimp feels firm and looks even. Give the cable a firm pull. The cable should stay tight with no loose strands or movement.
3. Can I crimp battery terminals without a crimper?
It is best to use a proper cable crimper. Pliers may not make a strong joint. A poor crimp can add resistance and cause heat when the cable carries high current.
4. Should I solder a crimped battery terminal?
Usually, a proper crimp is enough for a battery cable. Do not use solder to fix a weak crimp. Follow the terminal maker’s method for the best result.
5. Why does my crimped battery terminal get hot?
A hot battery terminal may point to a poor crimp, loose fit, or damaged cable. Stop and check the joint, cable size, and battery connection before using it again.
To Get More About Home, Car Tools Product You Can Visit Our Site. If You Found our Posts Helpful Leave a Comment Below