
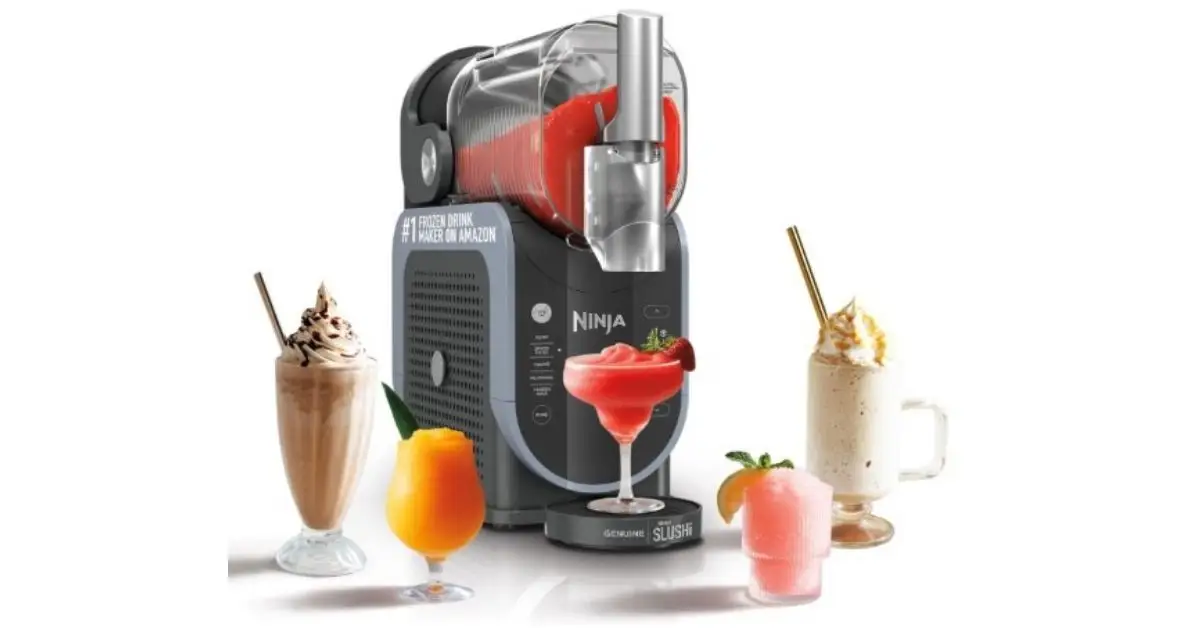
Unboxing the Ninja Slime/Slushie machine (officially known as the Ninja SLUSHi) is exciting, but setup can feel tricky. The first time I plugged mine in, I expected frozen drinks in minutes, only to end up with slightly chilled juice.
Starting this unit properly requires more than just pushing the power button. In this guide, I will share the exact steps to start your Ninja Slushie machine, avoid early mistakes, and get frozen, silky drinks on your very first try.
Unboxing and Assembly Basics Before Plugging In
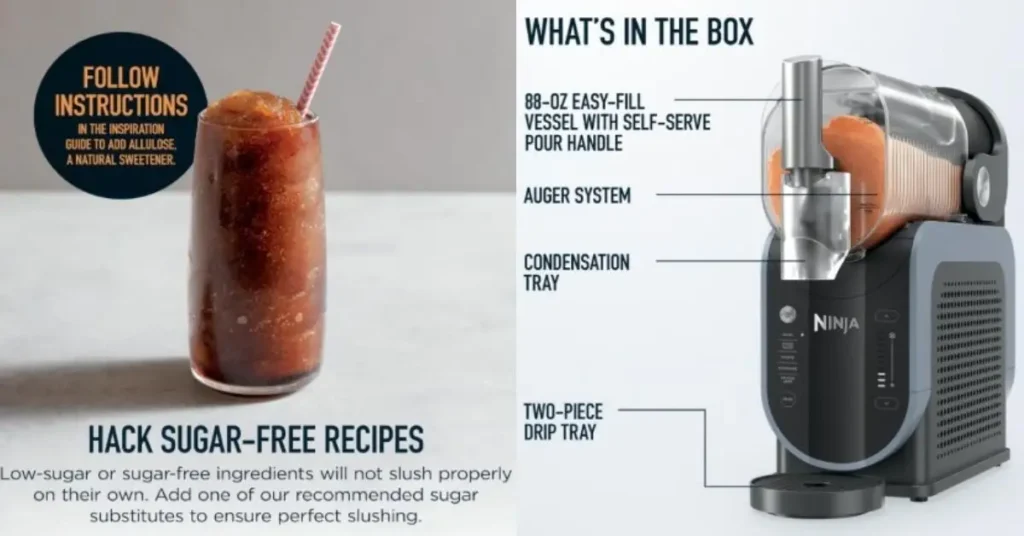
Before pressing any buttons, you need to assemble the unit correctly. The Ninja SLUSHi relies on a tight seal around the auger and evaporator cylinder to freeze liquid without leaking.
I made the mistake of rushing the assembly once, and liquid dripped straight past the spout. Take two minutes to snap everything in place properly.
| Component | Assembly Tip | Why It Matters |
| Main Vessel | Slide fully onto the base until it clicks. | Prevents leaks and aligns sensors. |
| Auger | Push onto the freezing cylinder firmly. | Ensures smooth rotating and slush consistency. |
| Condensate Catch | Slide into the front slot under the spout. | Catches stray drips during pour. |
How do I start my Ninja Slushie machine step-by-step?
To start your Ninja Slushie machine, plug the unit into a grounded outlet, pour your liquid into the vessel, turn on the power switch, and select your drink preset.
The machine takes a few seconds to initialize before the auger starts spinning and the cooling cylinder activates.
| Step | Action | Detail |
| 1 | Plug In | Connect directly to a standard wall outlet. |
| 2 | Fill Vessel | Pour in at least 16 oz of liquid with proper sugar content. |
| 3 | Power On | Flip the main power switch on the side/back. |
| 4 | Select Preset | Tap your desired drink mode (Slush, Spiked Slush, Frappé, etc.). |
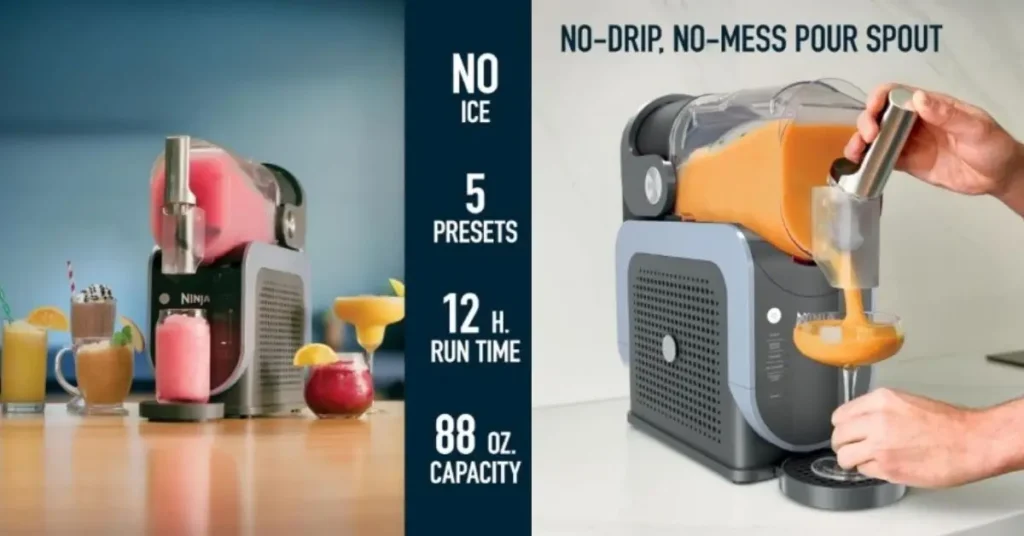
Understanding the Control Panel Lights
When you first turn on the machine, the preset lights will flash. This indicates the unit is in standby mode and ready for input.
If a light blinks rapidly, it usually means the vessel isn’t fully locked into position or the lid seal isn’t engaged.
The Golden Rule: Sugar and Liquid Limits
You cannot freeze plain water or zero-sugar diet soda in this machine. The freezing cylinder gets extremely cold, and without sugar or natural fats, pure water freezes solid instantly, locking up the auger.
Aim for liquids with at least 4% to 12% sugar content to allow the slush texture to form smoothly.
Standard Machine Settings and Drink Presets
The Ninja SLUSHi comes with specific presets designed for different types of beverages. Picking the right setting ensures the ideal thickness and prevents freezing delays.
Selecting the wrong mode can result in liquid that stays runny or a slush that freezes too thick to pour.
| Preset Mode | Best Used For | Approximate Run Time |
| Slush | Fruit juices, sodas, standard slush mixes | 15–30 minutes |
| Spiked Slush | Alcohol-infused beverages, margaritas | 30–45 minutes |
| Frappé | Coffee drinks, milk-based mixtures | 20–30 minutes |
| Frozen Juice | 100% natural fruit juices | 20–30 minutes |
| Milkshake | Ice cream mixes, high-fat dairy drinks | 15–25 minutes |
Adjusting Temperature and Preset Controls
Once a program starts, you can adjust the freeze temperature setting if your drink feels too liquid or overly solid.
Use the temperature controls to dial in the thickness while the machine is running.
| Problem | Temperature Adjustment | Outcome |
| Drink is too liquid | Lower temp setting (colder) | Thickens the slush base. |
| Auger is struggling | Raise temp setting (warmer) | Softens ice build-up. |
| Pouring is too slow | Raise temp setting by 1 notch | Relieves strain on spout. |

Common Start-up Errors and Troubleshooting
If your Ninja Slushie machine isn’t starting or making noise without freezing, a few quick checks will save you time. Most initial start-up issues relate to power connections or improper liquid balance.
I once spent twenty minutes wondering why my drink wasn’t slushing, only to realize I used sugar-free lemonade.
| Issue | Likely Cause | Quick Fix |
| Preset lights flashing | Vessel not locked | Reseat vessel firmly on base. |
| Machine turns off | Overheating/airblock | Move machine 6 inches from wall. |
| Auger makes grinding noise | Ice jam from low sugar | Turn off, add 2 tbsp sugar syrup. |
| Liquid leaking | Loose seal ring | Re-install silicone spout gasket. |
Real-World Lessons for Better Slushie Results
After using this machine regularly, I learned that small adjustments make a huge difference in freeze time and texture.
Chilling your ingredients in the fridge before pouring them into the machine cuts down the spin time significantly.
| Habit | Common Mistake | Better Approach |
| Temperature | Using room-temp liquid | Pre-chill liquids to below 40°F. |
| Alcohol Addition | Pouring hard liquor in first | Add alcohol late or keep under 16% ABV. |
| Cleaning | Waiting hours after use | Rinse warm water through immediately. |
Final Thoughts
Starting your Ninja Slushie machine is straightforward once you know how the presets, lock mechanisms, and sugar levels interact. As long as you assemble the parts tightly and stick to liquids with adequate sugar, the unit does the heavy lifting automatically.
Get creative with your flavor combinations, but keep those basic liquid ratios in mind. With proper setup and care, you can enjoy ice-cold, smooth frozen drinks right on your kitchen counter anytime.
To Get More About Home, Home and Kitchen Product You Can Visit Our Site. If You Found our Posts Helpful Leave a Comment Below