
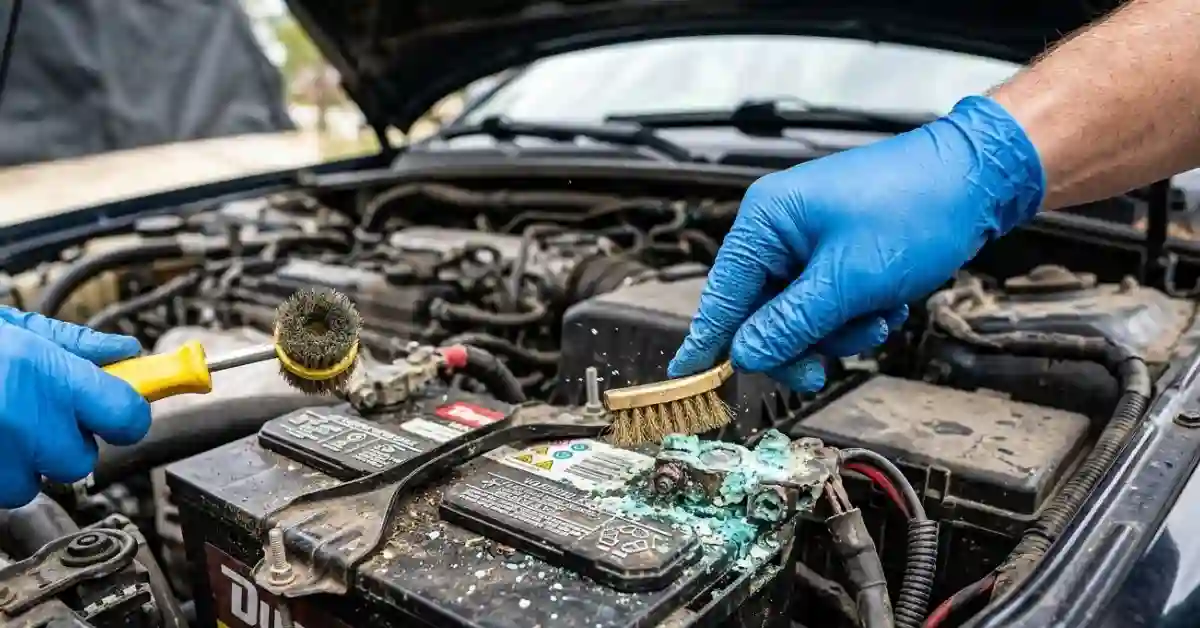
Car battery corrosion is one of those small car problems that is easy to ignore until the engine will not start. I have found that a little white or blue buildup around the battery terminals can cause more trouble than it first seems. The good news is that you can often clean it at home with simple tools.
In this guide, I’ll show you how to clean car battery corrosion safely, what to use, what to avoid, and how to check the battery after cleaning. I’ll also cover the mistakes that can make the problem worse.
Why Car Battery Corrosion Needs Attention
Battery corrosion often looks like white, blue, or green powder around the battery posts and cable ends. It forms when battery acid vapors or other battery materials react with the metal parts.
At first, it may look like a dirty terminal. But that buildup can block a good electrical connection.
I learned that the biggest mistake is not the corrosion itself. It is leaving it there for too long. A dirty terminal can lead to hard starts, weak electrical power, or a car that will not start at all.
| Corrosion Sign | What It May Mean |
| White powder | Battery acid residue or terminal corrosion |
| Blue or green buildup | Corrosion on copper parts |
| Crust around terminal | Poor electrical connection |
| Wet area near battery | Possible battery leak |
Corrosion does not always mean the battery is bad. A battery can still work well while the terminals need cleaning.
However, heavy corrosion can point to a deeper issue. The battery may be leaking, overcharging, or nearing the end of its life.
How to Clean Car Battery Corrosion Safely
The safest method is simple. Turn the car off, protect yourself, disconnect the battery correctly, clean the terminals, rinse away residue with care, dry everything, and reconnect the cables.
Before touching the battery, park the car on a flat surface. Turn off the engine and remove the key.
I also make sure there are no flames, cigarettes, or sparks nearby. A car battery can release flammable gas, so this is not a good place for shortcuts.
What You Need Before You Start
You do not need a large tool kit. Most of the job can be done with basic items.
| Item | Main Use |
| Safety glasses | Protect your eyes |
| Gloves | Protect your hands |
| Baking soda | Helps neutralize acid residue |
| Water | Dilutes and removes residue |
| Old toothbrush | Scrubs light corrosion |
| Terminal brush | Cleans heavy buildup |
A wrench is also useful for removing the battery cable clamps. The size depends on your car.
I like to have a clean rag nearby too. It helps keep moisture and dirt away from the battery area while I work.
Step 1: Turn Off the Car and Inspect the Battery
Start by switching off the engine. Let the engine bay cool if you have just driven the car.
Look closely at the battery.
Do not start cleaning if the battery case is cracked, badly swollen, leaking liquid, or severely damaged. Those signs can mean the battery needs professional attention or replacement.
| Battery Condition | What I Would Do |
| Light terminal corrosion | Clean it |
| Heavy terminal buildup | Clean with extra care |
| Cracked case | Stop and replace or seek help |
| Swollen battery | Do not clean; seek help |
This quick inspection can save you from turning a small cleaning job into a safety problem.
Step 2: Disconnect the Negative Cable First
If the battery is safe to work on, disconnect the cables.
For a typical negative-ground vehicle, remove the negative (-) cable first. Then remove the positive (+) cable.
This order matters because it lowers the chance of creating a short between the positive terminal and nearby metal parts.
Keep the cable ends from touching the battery terminals while you work.
Step 3: Make a Simple Baking Soda Mix
Mix a small amount of baking soda with water. You want a thin paste or mild solution.
Do not pour large amounts of liquid over the battery.
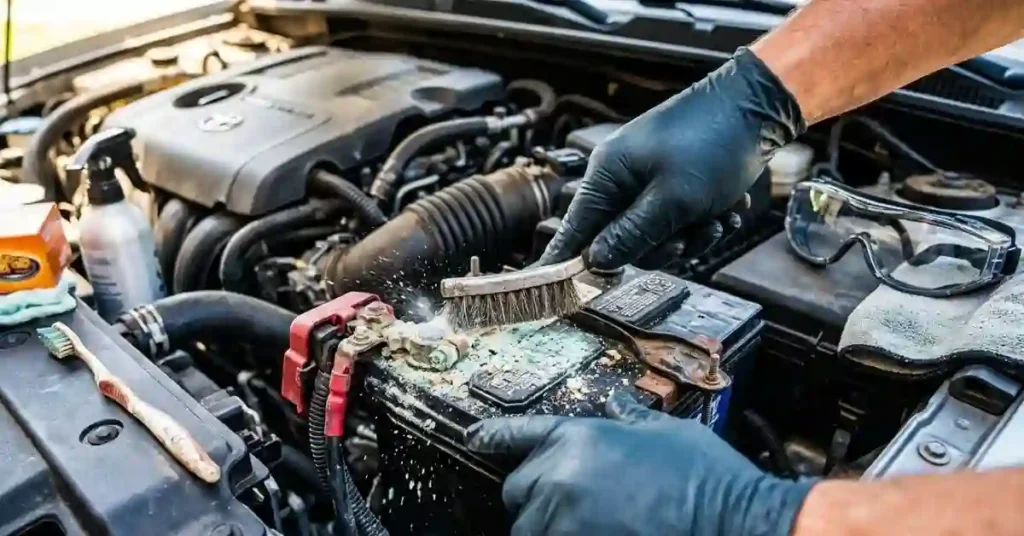
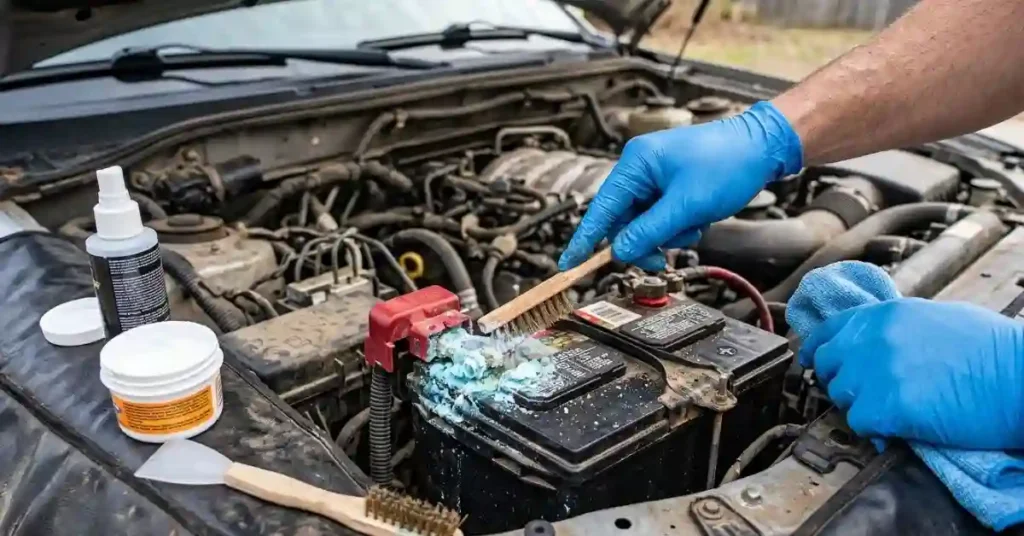
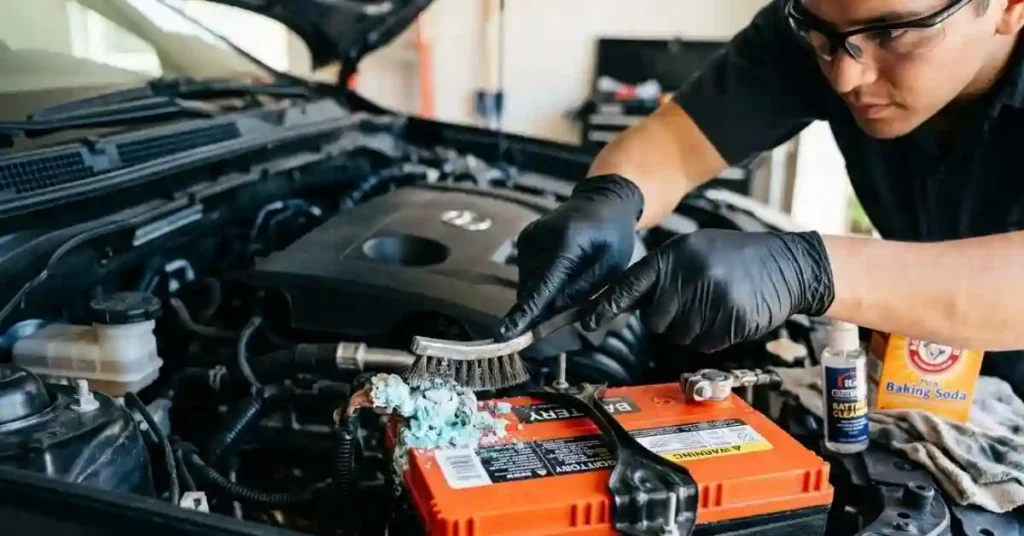
Apply the mixture to the corroded metal parts with a toothbrush or terminal brush. You may see some fizzing. That can happen as the baking soda reacts with acidic residue.
| Cleaning Method | Best For |
| Baking soda and water | Light to moderate corrosion |
| Terminal brush | Stuck buildup |
| Damp cloth | Final wipe-down |
The goal is to clean the corrosion from the metal, not soak the whole battery.
Step 4: Scrub the Battery Terminals
Use a toothbrush for light buildup. For thicker corrosion, a battery terminal brush works better.
Scrub the terminal post and the inside of the cable clamp.
Take your time here. I find that rushing this step often leaves a thin layer of grime behind. The metal should look clean and free of loose buildup when you finish.
Do not scrape aggressively with a sharp tool. You want clean contact surfaces without damaging the battery post or cable.
Step 5: Wipe and Dry Everything Well
Once the corrosion is gone, wipe the area with a damp cloth.
Use only enough water to remove the cleaning residue. Then dry the terminals and cable ends well.
This step is easy to overlook. Moisture left around electrical connections is not something you want.
Make sure the terminals are dry before reconnecting the battery.
Step 6: Reconnect the Battery in the Right Order
Reconnect the positive (+) cable first.
Then reconnect the negative (-) cable.
Tighten both clamps so they are secure. They should not move when you gently check them by hand.
Do not overtighten them. Too much force can damage the terminal or clamp.
After reconnecting the battery, start the car and check that it starts normally.
What Causes Car Battery Corrosion in the First Place?
Cleaning the terminals fixes the visible problem. But it is also worth asking why the corrosion appeared.
Battery age, acid vapor, poor connections, heat, and charging problems can all play a role.
| Possible Cause | What You May Notice |
| Old battery | Repeated corrosion or weak starts |
| Loose terminal | Poor starting or electrical issues |
| Battery leak | Wetness or heavy buildup |
| Charging problem | Fast return of corrosion |
A little corrosion over time is not unusual. Heavy corrosion that keeps returning deserves more attention.
Why Corrosion Keeps Coming Back
This is one of the most frustrating parts.
You clean the battery. Everything looks great. Then, weeks or months later, the white crust is back.
That can happen because the cause was never fixed.
A loose terminal may allow moisture and gases to reach the connection. An aging battery may also vent more than it should.
If corrosion returns quickly, I would not keep cleaning it over and over. I would check the battery, terminals, cables, and charging system.
Common Mistakes When Cleaning Battery Corrosion
There are a few shortcuts that sound harmless but are worth avoiding.
Mistake 1: Cleaning With the Battery Connected
You can clean some surface dirt while a battery is installed, but working around the terminals with tools can create a short.
Disconnecting the battery correctly gives you a safer setup.
Mistake 2: Using Too Much Water
A battery is not something you want to soak.
Use a small amount of water with your cleaning solution. Keep the liquid controlled and away from electrical parts.
Mistake 3: Forgetting Eye Protection
Battery residue is not something I would want near my eyes.
Safety glasses are cheap and easy to use. Wear them.
Mistake 4: Using a Metal Tool Carelessly
Metal tools can create a short if they touch the wrong parts.
This is why I prefer a proper terminal brush for most of the cleaning work.
| Mistake | Better Approach |
| Skip gloves | Wear protective gloves |
| Pour water everywhere | Use a small amount |
| Scrub with sharp metal | Use a terminal brush |
| Ignore battery damage | Inspect before cleaning |
Mistake 5: Assuming Corrosion Means the Battery Is Dead
This is another common misunderstanding.
Corrosion does not automatically mean you need a new battery. Sometimes the battery is fine and only the connection needs cleaning.
But if the battery is old, weak, swollen, cracked, or leaking, cleaning the terminals will not solve the real problem.
How to Tell If the Battery Terminals Are Clean Enough
After cleaning, look at the contact areas.
The terminal post and cable clamp should be free of loose powder and heavy buildup. The clamp should also fit firmly.
Try to move the cable gently by hand. It should not wobble.
| Check | Good Result |
| Terminal surface | Clean metal |
| Cable clamp | Firm fit |
| Visible corrosion | Mostly gone |
| Battery case | No cracks or swelling |
You do not need the battery to look perfect. You need a clean, firm electrical connection.
Should You Use Vinegar to Clean Car Battery Corrosion?
I often see household acids suggested for cleaning all kinds of car parts. I would not make vinegar my first choice for battery corrosion.
The main goal is to neutralize acidic residue and clean the connection without adding unnecessary chemicals or moisture.
A mild baking soda and water mix is a common simple option for acid residue.
The bigger issue is not finding a stronger cleaner. It is finding the reason the corrosion is there.
What If the Car Still Won’t Start After Cleaning?
Cleaning the terminals does not guarantee that the car will start.
If the engine still will not crank, check whether the cable connections are tight. Look for other signs, such as dim lights, clicking sounds, or a weak electrical system.
A dead battery, bad cable, poor ground, starter problem, or charging fault can cause similar symptoms.
| After Cleaning | Possible Next Step |
| Engine starts normally | Monitor the battery |
| Slow crank | Test the battery |
| Rapid clicking | Check battery charge |
| No electrical power | Check connections and battery |
If you have a multimeter, you can check battery voltage. A battery test can also give a better idea of its condition than simply looking at the terminals.
How to Prevent Battery Corrosion From Coming Back
Once the terminals are clean, prevention becomes much easier.
First, keep the connections tight and clean. Check the battery during routine oil changes or other basic car checks.
You can also use a battery terminal protection product made for this purpose after cleaning and drying the connection. Follow the product directions and keep the contact surfaces clean before applying anything.
A Simple Battery Check Routine
I prefer quick checks over waiting for a car problem.
Every so often, open the hood and look at the battery. It only takes a minute.
Check for:
- White, blue, or green buildup
- Loose cable clamps
- Cracks in the battery case
- Swelling
- Signs of leaking
- Damaged cables
| Check | How Often |
| Visual inspection | Every few months |
| Terminal check | During routine service |
| Battery test | When starting gets weak |
This small habit can catch problems before they leave you stuck somewhere.
When You Should Not Clean the Battery Yourself
There are times when cleaning is not the right answer.
If the battery is cracked, swollen, leaking, badly damaged, or giving off an unusual smell, stop and get professional help.
Also be careful if you are not comfortable working around a car battery. There is no prize for doing a repair yourself when you are unsure.
A battery can deliver a very high current. Even a simple tool can cause a dangerous short if used carelessly.
If the corrosion is extreme or the battery appears damaged, replacing the battery or having it checked may be the better choice.
A Quick Way to Clean Car Battery Corrosion Safely
If you want the short version, this is the process I would keep in mind.
| Step | What to Do |
| 1 | Turn off the car and inspect the battery |
| 2 | Wear gloves and eye protection |
| 3 | Disconnect negative, then positive |
| 4 | Apply a small baking soda and water mix |
| 5 | Scrub the terminals and clamps |
| 6 | Wipe, rinse lightly, and dry |
| 7 | Reconnect positive, then negative |
| 8 | Start the car and check the connection |
The important part is not speed. It is doing each step in the right order.
Final Thoughts
Learning how to clean car battery corrosion safely is useful because the job is usually simple, but it still needs care. Wear protection, inspect the battery first, disconnect the cables in the right order, use a small amount of cleaning solution, and dry the connections well.
The biggest lesson for me is that cleaning the corrosion is only half the job. If it keeps coming back, do not keep scrubbing forever. Check the battery, cables, connections, and charging system. A clean terminal is good, but finding the reason for the corrosion is even better.
Frequently Asked Questions
1. How do you clean car battery corrosion safely?
To clean car battery corrosion safely, wear gloves and eye gear. Disconnect the cables, use baking soda and water, scrub the posts, then dry and reconnect them.
2. Can baking soda clean car battery corrosion?
Yes. Baking soda and water can help clean car battery corrosion. Apply a small amount to the buildup, scrub it off, then wipe and dry the battery well.
3. Should I disconnect the battery before cleaning corrosion?
Yes. Turn the car off and disconnect the negative cable first. Then remove the positive cable. This helps lower the risk of a short while you clean the terminals.
4. Why does car battery corrosion keep coming back?
Car battery corrosion may return due to a loose cable, an old battery, or a charging fault. If it comes back fast, have the battery and cables checked.
5. Can I prevent car battery terminal corrosion?
Yes. Keep the battery terminals clean and tight. After cleaning, use a battery terminal protectant as directed. Check the battery often for new corrosion or damage.
To Get More About Home, Car Tools Product You Can Visit Our Site. If You Found our Posts Helpful Leave a Comment Below