
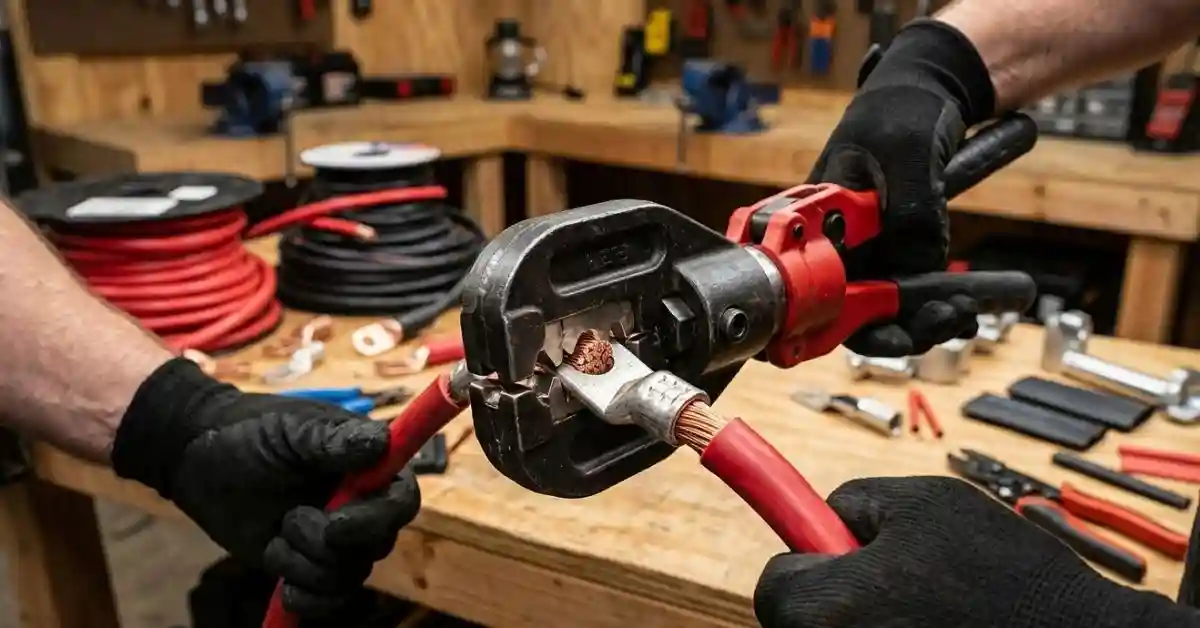
Crimping battery cable lugs looks simple, but a poor crimp can cause heat, voltage drop, or a loose connection. I learned that the small details matter more than the force used on the crimp tool.
In this guide, I’ll walk through how to crimp battery cable lugs step by step. I’ll cover the tools, cable size, lug choice, crimp methods, common mistakes, and simple ways to check your finished connection.
Why How to Crimp Battery Cable Lugs Matters
A battery cable carries high current. That means the lug connection needs to be strong and have very low resistance. A loose or weak crimp can become a hot spot.
One thing that is easy to miss is that a crimp can look perfect from the outside and still be poor inside. The cable must fit the lug well, and the crimp must compress the wire without cutting or crushing it.
| Crimp problem | What can happen |
| Loose crimp | Heat and voltage loss |
| Wrong lug size | Poor wire contact |
| Over-crimping | Damaged cable or lug |
| Poor cable fit | Weak connection |
For battery work, I also like to keep the cable end clean and dry before crimping. Dirt, oil, or oxidation can make the job harder.
Tools You Need to Crimp Battery Cable Lugs
You do not need a huge collection of tools. The key is using a crimper made for the size of cable and lug you have.
For large battery cables, a proper hydraulic or heavy-duty crimper is much better than trying to squeeze the lug with ordinary pliers.
| Tool | Main use |
| Cable cutter | Makes a clean cable end |
| Wire stripper | Removes insulation safely |
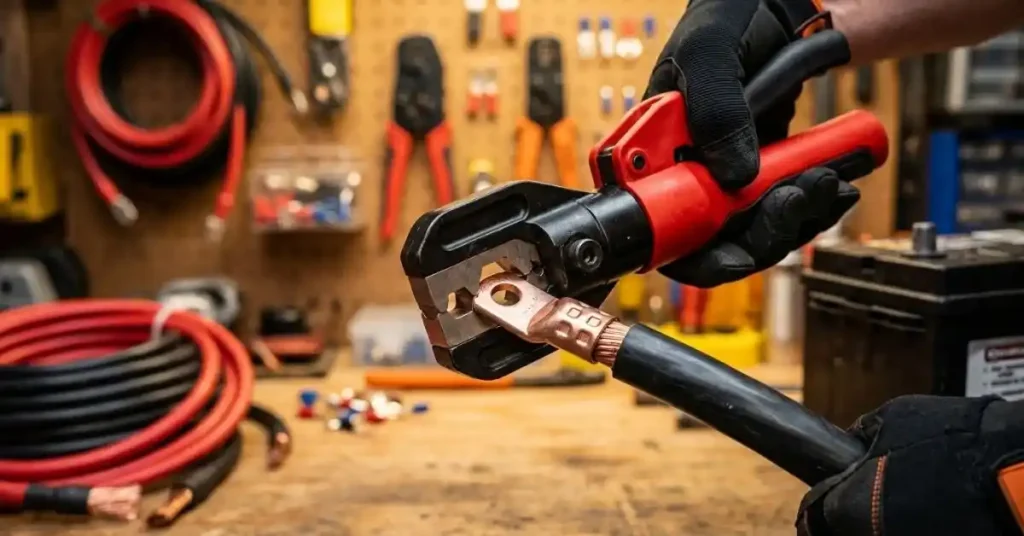
| Lug crimper | Compresses the lug onto cable |
| Heat gun | Shrinks heat-shrink tubing |
| Fine brush | Cleans the cable and lug |
I also keep a small file or abrasive pad nearby when needed. However, I avoid removing large amounts of metal from a lug. The goal is to clean it, not change its shape.
Choosing the Right Crimper
The crimper should match the lug and cable size. Hydraulic crimpers work well for large battery cable because they can apply strong, even pressure.
For smaller cable, a quality mechanical crimper may be enough.
Do not assume that a very cheap crimper is fine just because the lug looks small. Battery cables can carry a lot of current, so the connection deserves the right tool.
How to Crimp Battery Cable Lugs Step by Step
Once the cable and lug match, the actual process is quite straightforward. The part that takes the most care is preparing the cable before the crimp.
1. Match the Battery Cable to the Lug
Start by checking the cable size and lug size.
For example, a lug marked for 2 AWG cable should be used with the correct 2 AWG cable. The hole in the lug must also match the battery stud or terminal bolt.
| Check | What to look for |
| Cable size | Matches lug rating |
| Lug barrel | Fits cable snugly |
| Ring hole | Fits terminal bolt or stud |
| Lug material | Suitable for the application |
Never force a large cable into a lug that is too small. It may seem like a way to make things work, but it can produce a poor crimp.
2. Cut the Cable Cleanly
Use a proper cable cutter and make one clean cut.
A rough or angled cut can make insertion harder. It can also leave loose strands sticking out.
I prefer to inspect the cut right away. If strands are badly spread or crushed, cutting the end again is often easier than trying to fix it later.
3. Strip Only the Needed Amount of Insulation
Measure the barrel depth of the lug and strip enough insulation for the conductor to enter fully.
Do not strip a huge section of insulation.
| Mistake | Better approach |
| Strip too much | Strip only to barrel length |
| Cut copper strands | Use a suitable stripper |
| Leave insulation inside barrel | Expose the full contact area |
This step matters because nicked copper strands reduce the effective conductor area. With high-current cables, that is something I would avoid.
4. Insert the Cable Into the Lug
Push the bare cable fully into the lug barrel.
The copper strands should stay together. Do not twist them tightly or bend them around to make them fit.
A good fit should feel snug. The cable should not slide freely in and out of the barrel.
5. Position the Lug in the Crimper
Place the lug barrel into the correct die for the cable size.
This is where many first-time attempts go wrong. The die needs to match the lug and cable, not simply be the closest-looking size.
Follow the crimper manufacturer’s markings when available.
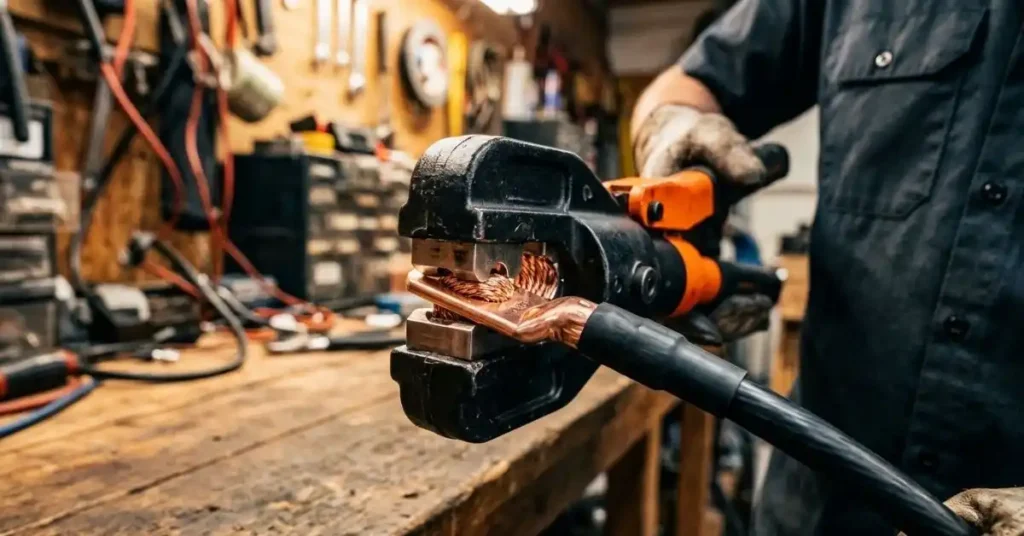
6. Make the Crimp
Apply pressure until the crimp reaches the proper compression for the tool and lug.
With a hydraulic crimper, pump slowly and keep the lug straight. Do not move the cable while pressure is being applied.
Some lugs need more than one crimp. If so, follow the lug maker’s instructions for crimp location and spacing.
| Crimp method | Best suited to |
| Mechanical crimper | Smaller cables |
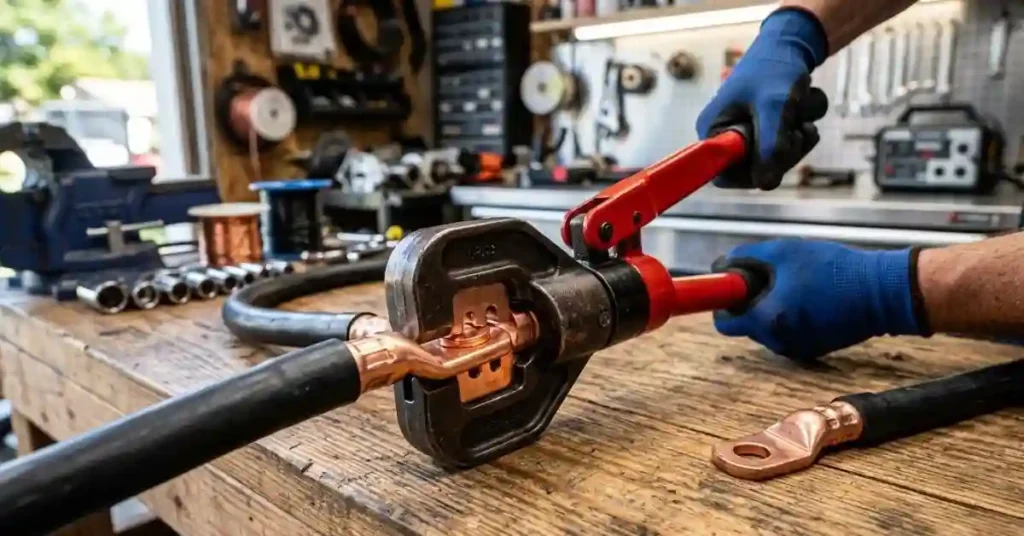
| Hydraulic crimper | Large battery cables |
| Hammer-style crimper | Occasional heavy cable work |
The important point is not simply “use more force.” A correct crimp comes from the right die, lug, cable, and compression.
7. Add Heat-Shrink Tubing
If your lug setup uses heat-shrink tubing, slide it over the connection before the lug is attached or place it over the finished connection if the design allows it.
Use a heat gun rather than an open flame.
The tubing should shrink evenly around the cable and lug area. Do not overheat the insulation.
8. Inspect the Finished Crimp
Look closely at the connection before installing it.
The cable should be firmly held by the lug. There should be no loose strands, major cracks, or badly distorted metal.
Give the cable a firm hand pull. It should not move inside the lug.
How Tight Should a Battery Cable Lug Crimp Be?
A good crimp should hold the conductor tightly enough that it cannot pull out under normal handling. But “very tight” does not mean crushing the lug as hard as possible.
The correct amount of compression depends on the lug and crimp system.
| Condition | What it suggests |
| Cable moves in lug | Crimp is too loose |
| Lug is badly crushed | Crimp may be excessive |
| Cable pulls out | Connection failed |
| Firm, even compression | Good sign |
For professional work, the lug and tool manufacturer’s specified crimp dimensions or tooling should take priority over guesswork.
Battery Cable Lug Crimping Methods Compared
There are several ways to crimp battery lugs. They are not equally suitable for every cable.
Hydraulic Crimping
Hydraulic crimpers are common for large battery cable. They provide strong compression with less physical effort.
For larger cables, this is usually much easier than trying to use a basic hand tool.
Mechanical Crimping
A heavy-duty mechanical crimper can work well on smaller battery cables.
The main thing I would check is whether the tool is actually rated for the cable size. Some tools look strong but are intended for much smaller wire.
Hammer Crimping
Hammer-style tools use impact to compress the lug.
They can be useful when working on large cable without a hydraulic crimper, but getting consistent results can take practice.
I would be more careful with this method because the quality of the finished crimp can depend heavily on how the tool is used.
Common Mistakes When Crimping Battery Cable Lugs
The most frustrating mistakes are often the ones that seem harmless.
One example is using a lug that almost fits. Another is stripping too much insulation. Both can create problems later.
| Mistake | Why it causes trouble |
| Wrong lug size | Poor conductor contact |
| Loose cable in barrel | Weak electrical joint |
| Damaged strands | Reduced conductor area |
| Wrong crimper die | Poor compression |
| No inspection | Hidden defects remain |
Using the Wrong Lug Material
Copper lugs are common for battery cable. Tinned copper lugs can also be useful, especially where corrosion resistance matters.
The lug should be suitable for the cable and the environment.
Do not pick a lug only because the bolt hole fits. The barrel size and material matter too.
Crimping Over the Insulation
The bare conductor needs to sit inside the conductive barrel.
If the insulation gets caught in the main crimp area, the conductor may not be compressed correctly.
Trying to Solder Instead of Crimping
Soldering and crimping are different connection methods.
For many battery cable applications, a properly made mechanical crimp is the intended connection. Adding solder without a clear reason can change the flexibility of the cable near the lug.
I would follow the lug and cable manufacturer’s instructions instead of adding solder simply because the connection “looks stronger” that way.
How to Tell If a Battery Lug Was Crimped Correctly
A visual check is a good first step, but it should not be the only one.
Look for even compression and a cable that stays firmly inside the barrel.
If the lug has manufacturer-specified crimp marks or inspection requirements, use those as your guide.
| Inspection | Good sign |
| Cable pull test | Cable stays firmly in place |
| Visual check | Even crimp |
| Strands | No loose strands |
| Lug barrel | No major cracks or damage |
For critical battery systems, proper electrical testing can provide more confidence than a visual check alone.
What to Do If the Battery Cable Lug Is Loose
If the cable moves inside the lug after crimping, I would not simply install it and hope for the best.
Cut off the defective lug and start again with a new lug when possible.
Trying to crimp the same lug repeatedly can damage its barrel or produce an uneven connection.
A Simple Troubleshooting Guide
| Issue | Troubleshooting step |
| Cable slips out | Use the correct lug and die |
| Crimp looks uneven | Recheck tool alignment |
| Loose strands | Recut and prepare cable |
| Lug cracks | Replace the lug |
A fresh lug usually makes more sense than trying to rescue a badly crimped one.
How to Crimp Battery Cable Lugs Without Damaging the Cable
The cable itself deserves as much attention as the lug.
Avoid sharp bends right next to the finished lug. A battery cable needs some flexibility, and repeated movement can put stress on the connection.
I also avoid cutting the insulation with a knife deep enough to touch the copper. A small nick may not seem important, but damaged strands can weaken the conductor.
Keep the cable clean while working. If copper strands become contaminated, clean them as appropriate for the cable and application before assembly.
A Few Battery Lug Myths I Would Avoid
There is plenty of simple advice online that sounds reasonable but does not always hold up.
“The Harder I Crimp, the Better”
Not necessarily.
Too little compression can leave a loose connection. Too much compression can damage the lug or conductor. Correct tooling matters more than brute force.
“If It Looks Good, It Is Good”
A neat-looking lug can still have a poor internal connection.
That is why I like to check the cable fit, crimp shape, and physical security before installation.
“Any Ring Terminal Will Work”
A ring terminal is not automatically suitable for a battery cable.
The terminal must be rated for the conductor size and current application.
Safety Tips Before Working on Battery Cables
Battery work deserves care because batteries can deliver very high current. A metal tool touching the wrong points can create a dangerous short.
Before working, make sure the system is de-energized when the application allows it. Wear suitable eye protection and avoid jewelry or loose metal objects around exposed battery terminals.
| Safety concern | Safer habit |
| Accidental short | Isolate power first |
| Metal jewelry | Remove it |
| Sparks | Keep tools controlled |
| Eye injury | Wear eye protection |
If the cable belongs to a vehicle, inverter system, solar setup, boat, or other high-current system, follow the equipment maker’s safety procedure.
Final Thoughts
Learning how to crimp battery cable lugs is mostly about getting the small things right. Match the cable and lug, make a clean cut, strip only what you need, use the correct crimper, and inspect the finished joint.
The biggest lesson is simple: do not judge a crimp by appearance alone. A proper tool and correctly matched parts matter far more than trying to squeeze the lug as hard as possible.
If a crimp feels loose or looks wrong, start over. A new lug and a few extra minutes are much better than troubleshooting a hot or unreliable battery connection later.
FAQs About How to Crimp Battery Cable Lugs
1. How do you crimp battery cable lugs?
Cut the cable cleanly, strip the right length, and fit it into the lug. Use the right crimper and check that the cable stays firm.
2. What tool is best for crimping battery cable lugs?
A hydraulic crimper works well for large battery cables. A heavy-duty hand crimper can suit smaller cables if its size range matches the lug.
3. How do I know if a battery cable lug is crimped correctly?
Check for even compression and no loose strands. Give the cable a firm pull. It should stay tight and not move inside the lug.
4. Can I crimp a battery lug without a crimping tool?
It is best to use a proper cable lug crimper. Pliers or random tools may give a weak joint that can heat up under high current.
5. Why does my battery cable lug keep coming loose?
The lug or crimper may be the wrong size, or the crimp may be too weak. Check the cable fit, die size, and crimp method before trying again.
To Get More About Home, Car Tools Product You Can Visit Our Site. If You Found our Posts Helpful Leave a Comment Below