
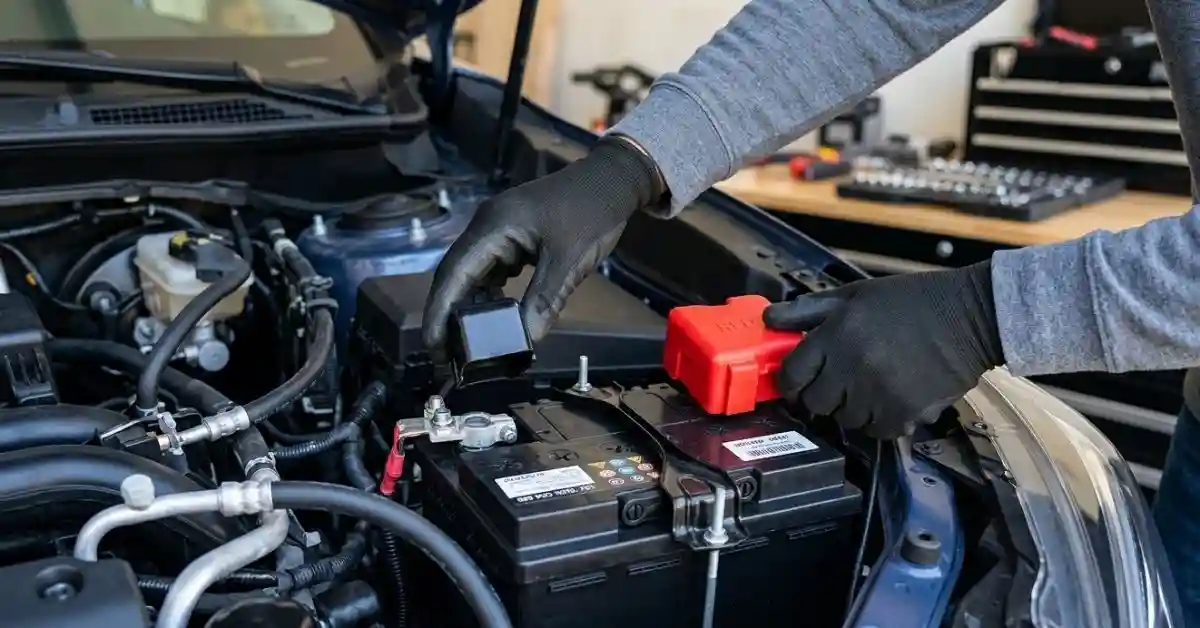
Battery terminal covers are small, but I learned that they solve a real problem. They help shield exposed battery posts and connections from accidental contact, dirt, and moisture. They can also make an engine bay look much cleaner.
When I first looked into How to Install Battery Terminal Covers, I thought it would be a quick push-on job. It often is, but choosing the right cover and fitting it the right way matters. A loose cover can slide off, while a cover that does not fit can press on the cable or terminal.
Why Battery Terminal Covers Matter
Before learning How to Install Battery Terminal Covers, it helps to know what they protect. A battery has exposed metal connections that can cause trouble if they touch the wrong metal part.
The positive terminal is the main one that needs a cover. The cover helps prevent an accidental short if a metal tool or part touches the terminal.
| Part | Main concern | Cover benefit |
| Positive terminal | Accidental short | Adds a protective barrier |
| Negative terminal | Dirt and contact | Helps shield the connection |
| Cable connection | Moisture and grime | Adds some protection |
I also found that covers are useful during basic engine work. A wrench can move in a way you did not expect. A simple plastic cover gives you one more layer between that tool and the live positive terminal.
Which Battery Terminal Needs a Cover?
The positive battery terminal is the most important one to cover. Many vehicles use a red cover or another bright color to mark it.
The negative terminal may also have a cover. Some batteries and vehicles use covers on both sides, but the design varies.
Do not assume that every cover fits every battery. Terminal size, cable position, and the shape of the terminal area can differ.
What You Need Before You Install Battery Terminal Covers
The job usually needs very few tools. In fact, you may not need a tool at all if the cover slips over the terminal correctly.
Still, I like to check everything before touching the battery. It saves time and helps avoid the classic problem of discovering that the new cover is too small after the old one is off.
| Item | Why you need it |
| Correct terminal cover | Must match the terminal |
| Safety glasses | Protect your eyes |
| Gloves | Add hand protection |
| Small brush | Cleans light dirt if needed |
If the cover requires you to remove a terminal, you may also need a wrench that fits the battery terminal clamp. Check the vehicle manual if you are not sure about the correct procedure.
Check the Cover Size First
The cover should fit over the terminal without forcing it. It should also stay in place once fitted.
Look for signs that the cover is wrong:
- It will not slide over the terminal.
- It falls off with a light touch.
- It presses hard against another part.
- It pulls on the battery cable.
- It blocks another connection.
A good fit should feel secure, not tight enough to distort the plastic.
How to Install Battery Terminal Covers Without Removing the Terminal
This is the easiest case. Some covers are made to slide over an existing terminal and cable connection.
Before you start, turn the vehicle off. Remove the key or key fob from the work area. Keep metal tools away from the battery posts.
Step 1: Inspect the Battery Terminal
Open the hood and find the battery.
Look at the terminal you want to cover. Check for loose parts, damaged plastic, heavy corrosion, or a badly fitted cable.
If the connection looks damaged, stop there. A cover is not a fix for a damaged terminal.
Step 2: Clean the Area if Needed
A little dust is not usually a reason to take everything apart. But heavy dirt or corrosion can stop a cover from sitting well.
Use the proper battery-cleaning method for your battery and vehicle. Do not scrape around carelessly with a metal tool.
I used to think that every battery connection needed to look spotless before a cover could go on. That is not true. The goal here is a clean, sound connection and a cover that fits well.
Step 3: Position the Cover Correctly
Place the cover over the terminal from the direction allowed by its design.
Some covers have a slit or opening for the cable. That opening needs to line up with the cable.
Do not twist the cable just to make the cover fit.
Step 4: Press the Cover Into Place
Push the cover down or over the terminal until it sits fully in position.
Use gentle pressure. If it will not fit, do not force it.
| If the cover does this | What I would do |
| Fits loosely | Check the size and design |
| Will not go on | Confirm terminal compatibility |
| Presses on the cable | Reposition or use the correct cover |
| Stays secure | Check the final clearance |
Step 5: Check the Final Fit
Give the cover a light hand check. It should not pop off easily.
Also look around the cover. Make sure it does not touch a moving part, hot engine part, belt, fan, or other component.
That last check is easy to skip. I would not skip it.
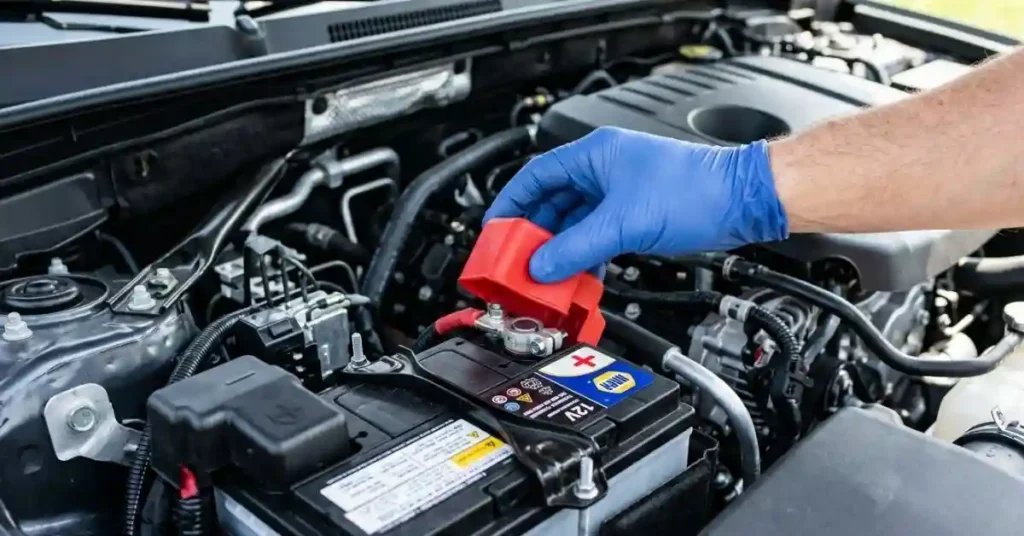
How to Install Battery Terminal Covers When the Clamp Must Come Off
Some covers are designed to fit around the battery cable connection. This may mean you need to remove the terminal clamp first.
This is a different job because you are now disconnecting the battery.
Disconnect the Negative Terminal First
For a typical negative-ground vehicle, the negative terminal is disconnected first when removing battery connections.
Then disconnect the positive terminal if the cover design requires it.
This order helps reduce the chance of creating a short between the positive terminal and vehicle metal with your tool.
| Battery work | Typical order |
| Disconnecting | Negative, then positive |
| Reconnecting | Positive, then negative |
Always check your vehicle manual if it gives a different procedure. Modern vehicles can have special battery systems and electronics.
Fit the Cover Around the Cable
Once the terminal is safely disconnected, position the cover according to its design.
Do not trap the cable under the cover. The cable should remain relaxed and properly aligned.
The cover should protect the exposed metal without putting stress on the cable.
Reconnect the Battery Carefully
For a typical negative-ground vehicle, reconnect the positive terminal first and the negative terminal second.
Make sure each clamp is secure. A battery terminal should not move around because the cover is fitted too tightly.
After reconnecting, check that the cover stays in place.
Common Mistakes I Would Avoid
The biggest mistake is treating every battery terminal cover as a universal part. They are not all shaped the same.
I have also seen how easy it is to focus on the cover and forget the cable underneath. The cover is only useful if the terminal connection itself is sound.
| Mistake | Better approach |
| Forcing a small cover | Use the correct size |
| Ignoring cable position | Align the cable opening |
| Covering a damaged terminal | Repair the connection first |
| Using a loose cover | Choose a better fit |
| Letting tools touch terminals | Keep tools clear |
Another common mistake is putting a cover over a dirty or loose connection and assuming the problem is solved. The cover hides the connection. It does not repair it.
Battery Terminal Cover Problems and Easy Fixes
Sometimes the installation looks simple but still does not work well. Most problems come down to fit or placement.
The Cover Keeps Falling Off
If the cover slides off, check the terminal size and cover design. A universal cover may not fit every terminal well.
Do not use glue, tape, or other makeshift methods unless the cover maker specifically allows it. You want the cover to stay secure without interfering with the battery connection.
The Cover Does Not Fit Over the Terminal
Do not force it.
Measure the terminal and check the product specifications. Some battery posts and cable connections have different shapes and sizes.
The Cover Touches Another Part
Move the cover into its correct position if the design allows it.
If it still touches another component, use a cover designed for that battery layout. A cover should not interfere with belts, fans, wiring, or other moving or hot parts.
The Cover Looks Fine but the Terminal Is Loose
Fix the terminal connection first.
A battery terminal cover should never be used to hide a loose clamp. A loose connection can cause starting problems and electrical issues.
Can Battery Terminal Covers Stop Corrosion?
Battery terminal covers can help reduce exposure to dirt and moisture, but they are not a complete corrosion treatment.
If you already see corrosion, deal with the underlying issue first. Battery corrosion can have several causes, including battery leakage, venting, poor connections, or other battery problems.
| Condition | What the cover can do |
| Clean terminal | Helps keep it protected |
| Light dirt exposure | Adds a barrier |
| Active corrosion | Does not repair the cause |
| Damaged terminal | Does not make it safe |
This was one lesson I had to keep in mind: protection and repair are two different things.
A cover is useful after the connection is in good shape. It should not be the first step when the battery has a serious problem.
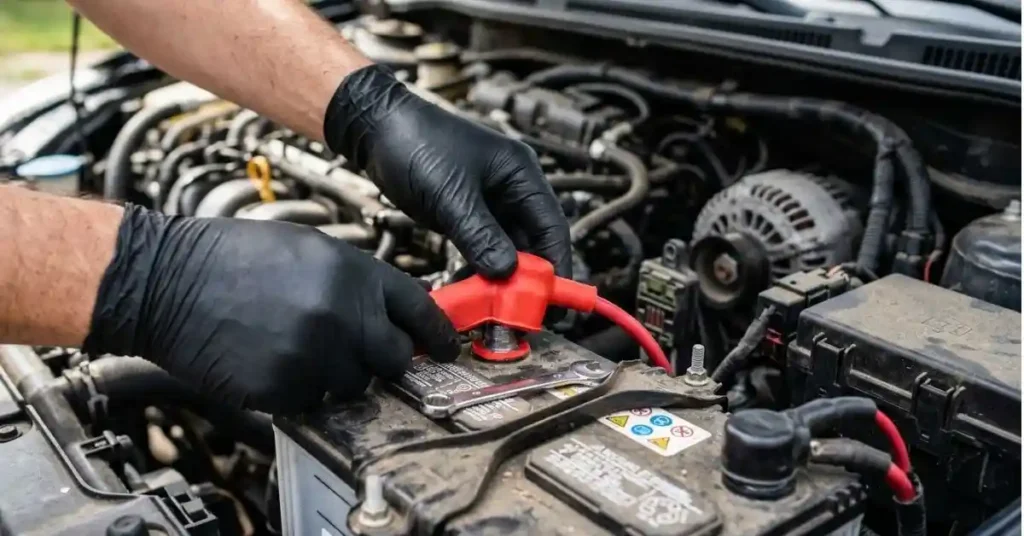
How to Choose the Right Battery Terminal Cover
A good cover should match your battery and cable setup.
Look at the terminal location, cable direction, and available space. A cover that works on one vehicle may not work well on another.
Look at Positive and Negative Designs
Many covers are made for a specific terminal. Some are universal, while others are shaped for a particular cable connection.
The positive terminal often gets more attention because it can create a direct short if exposed metal contacts vehicle body metal.
Think About Engine Bay Space
This matters more than I expected.
A tall cover may work on one battery but hit a hood, bracket, wiring harness, or another nearby part on a tighter installation.
Measure the space before buying a replacement.
A Simple Final Check After Installation
Once the cover is fitted, take a minute to inspect the whole area.
I like this final check because it catches small problems before they become annoying ones.
| Check | What to look for |
| Cover | Secure and fully seated |
| Cable | No sharp bend or strain |
| Clearance | No contact with moving parts |
| Terminal | Clamp remains secure |
Close the hood carefully if the battery is close to the hood. Make sure the cover does not interfere with hood clearance.
Then start the vehicle if you disconnected the battery and follow any vehicle-specific reset steps in the owner’s manual.
When You Should Not Install a Battery Terminal Cover Yet
There are times when the cover should wait.
If you see a cracked terminal, melted cable insulation, heavy corrosion, damaged wiring, a loose battery hold-down, or signs of battery leakage, deal with that problem first.
A cover can make a battery area look tidy while a real problem remains underneath.
If you are unsure about the condition of the battery or wiring, having a qualified technician inspect it is the safer choice.
Final Thoughts
Learning How to Install Battery Terminal Covers is not hard. The key is to use the right cover, avoid forcing it, keep the battery connection sound, and check the fit after installation.
My biggest lesson is simple: do not rush because the part is small. A few extra seconds spent checking the terminal, cable, cover, and clearance can prevent a much bigger headache later.
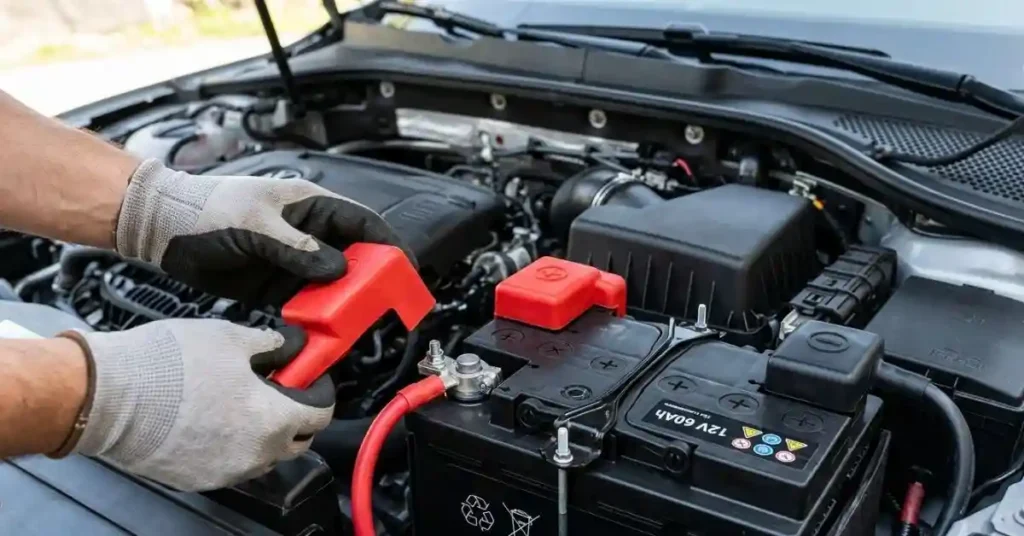
FAQs About How to Install Battery Terminal Covers
1. How do I install battery terminal covers?
Turn off the car and check the terminal. Fit the cover over the correct post and cable. Press it into place gently, then check that it stays secure.
2. Which battery terminal needs a cover?
The positive battery terminal should have a cover in most cars. It helps stop tools or metal parts from touching the live terminal and causing a short.
3. Can I install battery terminal covers without removing the cable?
Yes, if the cover is made for this type of fit. Slide it over the terminal and cable, then check that it sits firm and does not pull on the cable.
4. Do battery terminal covers stop corrosion?
Battery terminal covers can help block dirt and moisture. They do not fix corrosion. Clean and check the terminal first if you see white or green build-up.
5. Why does my battery terminal cover keep falling off?
The cover may be the wrong size or shape. Check the battery post and cable fit, then use a cover made for that terminal. Never force a loose cover to stay on.
To Get More About Home, Car Tools Product You Can Visit Our Site. If You Found our Posts Helpful Leave a Comment Below