
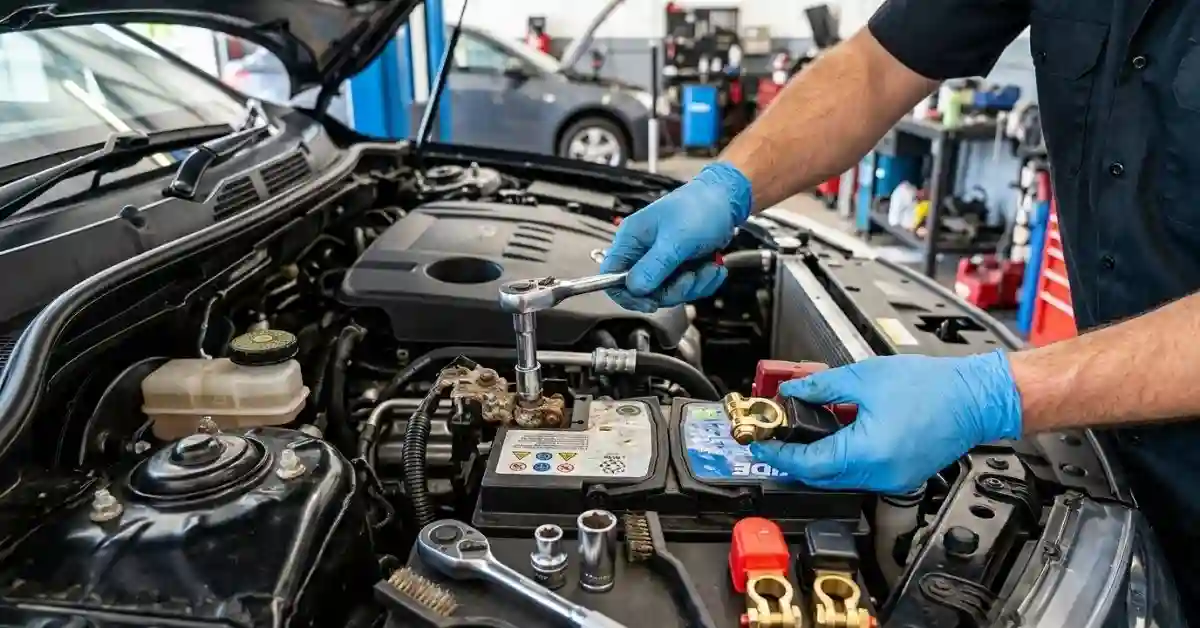
Replacing battery terminals sounds like a small repair, and it usually is. The tricky part is doing it safely and getting a clean, tight connection. A loose terminal can cause hard starts, flickering lights, or no power at all.
I learned that the hard way after spending too long blaming a weak battery for a starting problem. The battery was fine. The terminal connection was not. In this guide, I’ll walk through How to Replace Battery Terminals, what tools you need, which mistakes to avoid, and how to know the new connection is truly good.
What You Need Before You Replace Battery Terminals
Before starting How to Replace Battery Terminals, gather the right tools. This makes the job much easier and helps prevent damage to the battery or wiring.
You do not need a large toolbox. A few basic tools can handle most battery terminal replacements.
| Tool | Why You Need It |
| Wrench or socket | Removes the old terminal |
| Wire brush | Cleans corrosion from the post and cable |
| Replacement terminal | Connects the cable to the battery |
| Safety glasses | Protects your eyes from debris |
| Gloves | Protects your hands |
You may also need a cable cutter, wire stripper, crimping tool, or heat-shrink tubing. The exact tools depend on the type of terminal and cable you have.
Pick the Right Replacement Terminal
Not every battery terminal fits every cable. Check the battery post size, cable size, and terminal style before you buy one.
Some terminals use a simple clamp. Others use a bolt or a crimp connection. A terminal that looks right may still be the wrong size for the cable.
| Check First | What to Look For |
| Battery post | Positive or negative size |
| Cable | Correct cable thickness |
| Terminal | Correct clamp or lug style |
If the cable is badly damaged, replacing only the terminal may not solve the problem. The cable itself may need repair or replacement.
How to Replace Battery Terminals Step by Step
The safest approach is to work slowly. A battery can supply a lot of current, so a metal tool touching the wrong places can cause a serious spark.
Before you begin, turn the vehicle off. Remove the key and keep it away from the ignition.
1. Disconnect the Negative Battery Terminal First
When learning How to Replace Battery Terminals, this is one step I would not rush.
Disconnect the negative (-) terminal first. Loosen the terminal nut and lift the clamp from the battery post. Move it aside so it cannot fall back onto the post.
Then disconnect the positive (+) terminal if you are replacing both.
| Terminal | Usual Removal Order |
| Negative (-) | First |
| Positive (+) | Second |
This order helps reduce the chance of an accidental short between the positive terminal and the vehicle body.
2. Inspect the Old Terminal and Cable
Once the terminal is off, look closely at the cable.
Check for:
- Green or white corrosion
- Broken wire strands
- Loose cable ends
- Cracked insulation
- Burn marks
- Signs of heat damage
I used to think corrosion was only a surface problem. It is not always that simple. Corrosion can creep into the cable under the insulation, where you cannot see it.
If the copper looks dark, brittle, or badly damaged, replace more than just the terminal.
3. Clean the Battery Post
A dirty battery post can make a new terminal look like the solution when the real problem is poor contact.
Use a battery terminal brush or wire brush to clean the post. Remove loose corrosion and dirt. Do not grind away large amounts of metal.
Clean the terminal contact area as well.
| Condition | Best Action |
| Light dirt | Brush clean |
| Light corrosion | Clean with a terminal brush |
| Heavy damage | Inspect or replace the affected part |
The goal is a clean contact surface, not a shiny piece of metal at any cost.
4. Remove the Old Battery Terminal
Now remove the old terminal from the cable.
Some terminals have a clamp that holds the cable in place. Others use a crimped connection. Follow the design of the replacement terminal.
If you need to cut the cable, make a clean cut. Avoid crushing the cable with dull cutters.
This is also a good time to compare the old and new terminals. They should match in size and connection style.
5. Prepare the Cable End
If the cable end is corroded, cut back only as much as needed to reach clean metal.
Strip the insulation carefully if the new terminal requires exposed cable. Do not cut into the copper strands.
This small step matters more than it seems. A poor cable-to-terminal connection can create resistance and heat.
| Cable Condition | What I Would Do |
| Clean copper | Install the new terminal |
| Slight corrosion | Cut back to clean copper |
| Heavy corrosion | Replace the cable if needed |
6. Install the New Terminal
Slide the cable into the new terminal as designed.
If it uses a clamp, tighten the clamp evenly. If it requires crimping, use the correct crimping tool and follow the terminal maker’s instructions.
Do not rely on a loose hand squeeze. The connection should hold the cable firmly.
A good terminal should not twist or slide around on the cable when you give it a firm hand check.
7. Reconnect the Battery
Reconnect the positive (+) terminal first. Then connect the negative (-) terminal.
Tighten each terminal so it sits firmly on the battery post. Do not overtighten it.
A common mistake is thinking tighter always means better. It does not. Too much force can damage the terminal, battery post, or clamp.
| Connection | What Good Looks Like |
| Terminal on post | Firm and stable |
| Cable in terminal | No movement |
| Terminal nut | Tight but not forced |
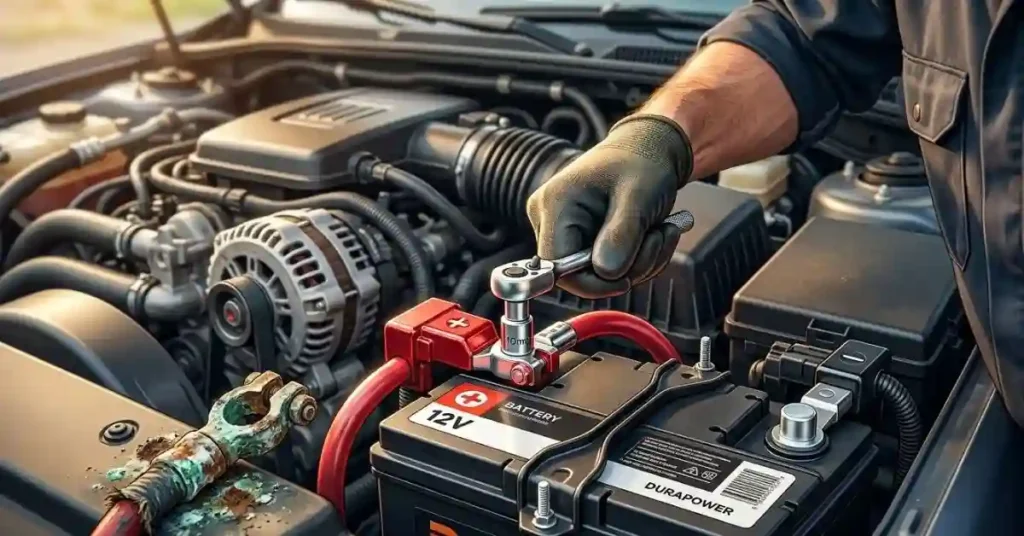
What Can Go Wrong When Replacing Battery Terminals?
Most battery terminal problems come from a small mistake during installation. The good news is that many are easy to spot.
The Terminal Still Feels Loose
If the terminal moves on the battery post after tightening, stop and check the fit.
The terminal may be the wrong size. It may also be sitting too high on the post.
Do not solve this by forcing the nut tighter. Fix the fit instead.
The Car Still Has Starting Problems
A new terminal does not guarantee a good electrical connection.
If the vehicle still cranks slowly or loses power, check the cable, battery, starter connections, and ground connection.
| Symptom | Possible Cause |
| Slow cranking | Weak battery or poor connection |
| No power | Loose terminal or cable |
| Flickering lights | Poor electrical connection |
| Repeated corrosion | Battery or charging issue |
This is where I found it easy to jump to the wrong conclusion. A battery problem and a terminal problem can feel very similar from the driver’s seat.
Common Mistakes I Would Avoid
A few shortcuts can turn a five-minute repair into a much longer job.
Replacing a Terminal Without Checking the Cable
This is probably the biggest one.
If corrosion has traveled into the cable, a fresh terminal may only hide the problem for a while. Check the cable before installing anything.
Connecting the Battery in the Wrong Order
When removing the battery, disconnect negative first. When reconnecting it, connect positive first.
That simple habit lowers the risk of an accidental short.
Leaving Corrosion on the Contact Surface
A new terminal cannot make a dirty connection good. Clean both the battery post and the terminal contact area.
Overtightening the Terminal
More force is not always better. A damaged clamp can become harder to remove later and may not hold the way it should.
| Mistake | Better Approach |
| Ignore cable corrosion | Inspect the cable first |
| Force a loose terminal | Check terminal size |
| Overtighten | Tighten firmly |
| Skip cleaning | Clean the contact points |
Can You Replace Battery Terminals Without Replacing the Battery?
Yes. You can replace battery terminals without replacing a healthy battery.
The battery and terminal are separate parts. If the battery holds a proper charge and the case is in good condition, there is no reason to replace it just because the terminal is damaged.
This saved me from replacing a good battery once. The terminal was the weak link, not the battery itself.
When the Battery May Need More Attention
A damaged battery can cause symptoms that look like a terminal problem. Look for swelling, cracks, leaks, or other serious damage.
If you see physical battery damage, stop the repair and have the battery checked.
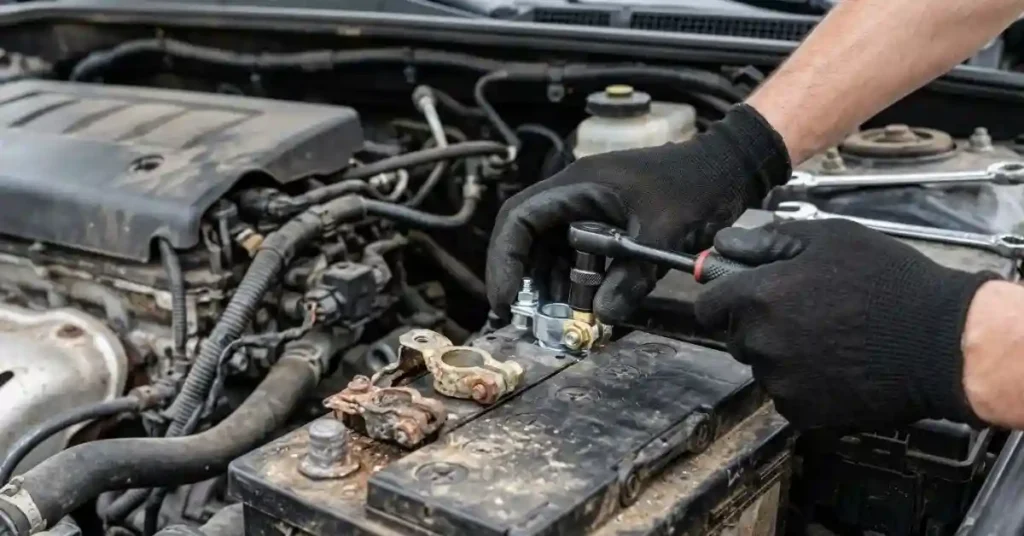
How Do You Know the New Battery Terminal Is Working?
After installation, check that the terminal is secure and the vehicle starts normally.
Turn on a few electrical items and watch for unusual flickering or loss of power. If everything stays stable, that is a good sign.
You can also test the battery and charging system with a multimeter if you have one.
| Check | Good Sign |
| Terminal movement | None |
| Starting | Normal crank |
| Lights | Steady |
| Cable connection | Firm |
Do not assume the repair is finished just because the engine starts once. A poor connection can work at first and fail under load.
How to Keep New Battery Terminals Clean
Once you know How to Replace Battery Terminals, the next goal is keeping the new connection healthy.
Keep the battery clean and inspect the terminals from time to time. Look for new corrosion, looseness, or signs of heat.
Battery terminal protection products can also help reduce corrosion when used correctly.
The important habit is simple: inspect before there is a problem.
Watch for Early Warning Signs
You do not need to inspect the battery every day. A quick look during routine maintenance is enough for most people.
| Warning Sign | What It May Mean |
| White powder | Corrosion |
| Green cable area | Cable corrosion |
| Loose clamp | Poor connection |
| Dark or melted area | Heat or high resistance |
If corrosion keeps returning, do not just clean it over and over. Find out why it is happening.
When Should You Stop and Get Help?
Replacing a battery terminal is often a simple repair, but not every battery problem is a DIY job.
Stop if you find a cracked battery case, a leaking battery, badly damaged cables, melted wiring, or signs of a major electrical fault.
Also stop if you are unsure which cable or terminal you are working with. Guessing around a car battery is not worth the risk.
If the new terminal is installed correctly but the vehicle still has electrical problems, the fault may be somewhere else in the starting or charging system.
Final Thoughts
Learning How to Replace Battery Terminals is mostly about careful work, not complicated tools. Disconnect negative first, inspect the cable, clean the contact points, fit the right terminal, and avoid overtightening.
The biggest lesson I took from this type of repair is to look beyond the obvious part. A bad terminal can make a good battery seem weak, while a badly corroded cable can make a new terminal fail. Take your time, check the whole connection, and you will avoid many of the headaches that come with battery work.
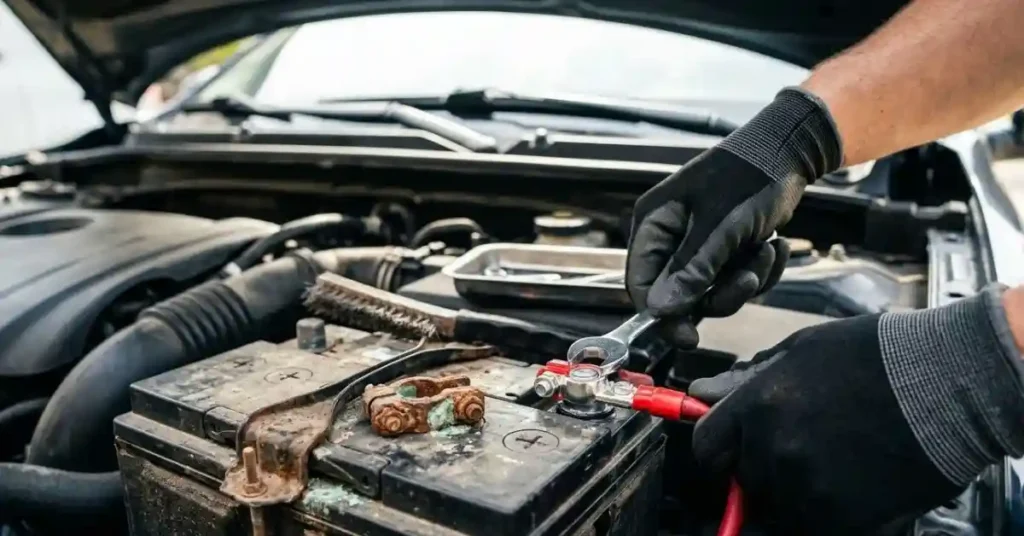
FAQ
How Do You Replace Battery Terminals Safely?
To replace battery terminals, turn off the car and remove the negative cable first. Clean the posts, fit the new terminals, then connect positive before negative.
Which Battery Terminal Should You Remove First?
Remove the negative battery terminal first. This lowers the risk of a short when you use a wrench near the battery and car body.
Can You Replace Battery Terminals Without Replacing the Battery?
Yes. You can replace battery terminals if the battery is still good. Check the battery case and cable for damage before fitting a new terminal.
Why Is My New Battery Terminal Still Loose?
A loose battery terminal may be the wrong size or may not sit low enough on the post. Check the fit and cable end before tightening it more.
How Do You Clean Battery Terminals Before Replacement?
Use a battery terminal brush to remove dirt and light corrosion. Make sure the battery post and cable end are clean before you fit the new terminal.
To Get More About Home, Car Tools Product You Can Visit Our Site. If You Found our Posts Helpful Leave a Comment Below