
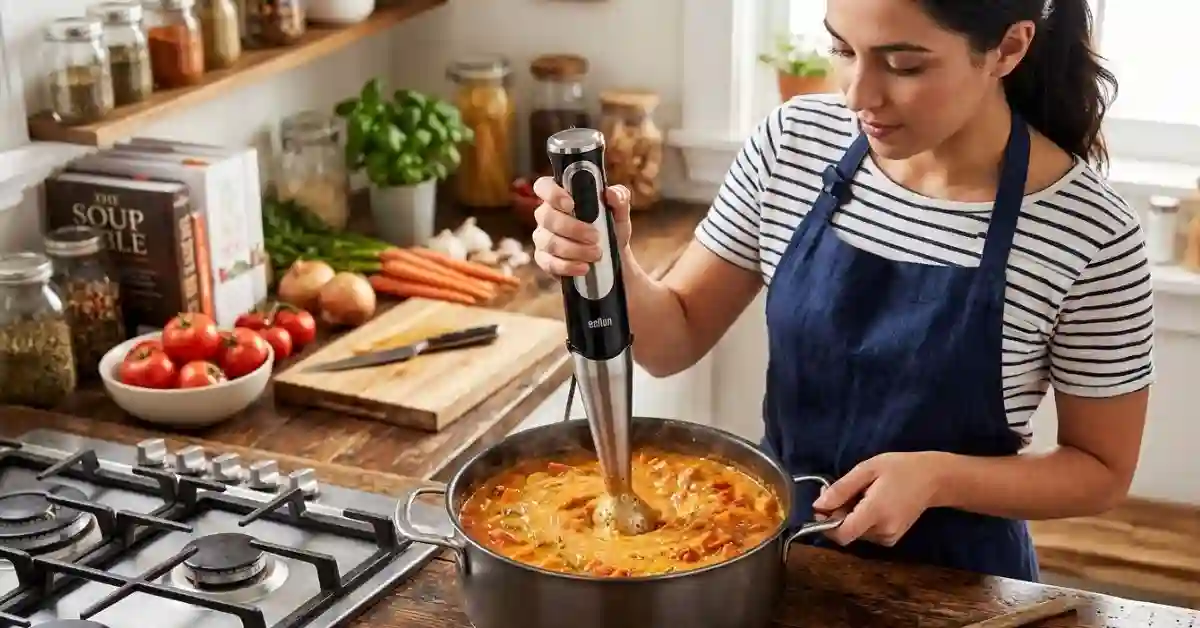
An immersion blender can turn a pot of chunky soup into a smooth, creamy meal in just a few minutes. But the first time I used one for soup, I learned that simply putting the blender into the pot is not the whole trick. The depth, speed, soup temperature, and how you move the blender all matter.
If you want to know how to use immersion blender for soup, I’ll walk you through the process I use, from choosing the right pot to getting the texture just right. I’ll also cover common mistakes, hot-soup safety, and what to do when your soup turns out too thick or too thin.
How to Use Immersion Blender for Soup
The basic method is simple. Cook the soup until the vegetables are soft, place the blender head under the soup, and blend in short bursts. Move the blender slowly as you work.
I prefer to blend right in the cooking pot because it saves time and creates less mess. Still, there are a few small details that make a big difference.
| Step | What to Do |
| 1 | Cook vegetables until very soft |
| 2 | Turn the heat off before blending |
| 3 | Keep the blade fully under the soup |
| 4 | Start on low speed |
| 5 | Move the blender slowly |
1. Cook the Soup Until the Vegetables Are Soft
An immersion blender can break down soft vegetables with ease. It cannot fix vegetables that are still hard.
For soups with carrots, potatoes, squash, onions, or other firm vegetables, cook them until they are tender. A fork should slide into them with little effort.
2. Turn Off the Heat Before Blending
This is one habit I always recommend. Turn off the burner before you start blending.
Hot soup can splash when the blender starts. A quick splash can cause a nasty burn, so there is no good reason to blend while the soup is actively boiling.
3. Keep the Blender Head Under the Soup
Place the blade guard below the surface of the soup before turning the blender on.
If the head is partly above the liquid, it can pull air into the soup and send hot droplets flying. Keeping it submerged also helps the blender work more smoothly.
How Deep Should an Immersion Blender Be in Soup?
The blender head should stay covered by the soup while the motor is running. You do not need to push it to the bottom of the pot.
This is something I misunderstood at first. I thought the blade needed to sit firmly against the bottom. It does not. In fact, pressing it hard against the bottom can make blending less comfortable.
| Blender Position | Result |
| Fully submerged | Best choice |
| Partly above soup | More splashing |
| Pressed hard on bottom | Poor movement |
Move the blender around the pot instead of forcing it down. Work through different areas so the vegetables break down evenly.
How to Blend Soup Without Making a Mess
The biggest mess usually comes from lifting the blender too high or starting at full speed.
I like to start slowly. Once the soup begins to break down, I increase the speed if needed. I also use small up-and-down movements instead of rapidly waving the blender around.
| Problem | Better Approach |
| Soup splashes | Keep blade fully covered |
| Blender pulls hard | Use a slower speed |
| Large chunks remain | Move through different areas |
| Soup has air bubbles | Blend more gently |
A tall pot also helps. A wide, shallow pan gives hot soup more room to splash.
How Long Should You Blend Soup With an Immersion Blender?
There is no single time that works for every soup. Most soups need only a few minutes of blending, but the exact time depends on the ingredients and the texture you want.
Start with short bursts. Stop and check the soup often.
For Smooth Soup
Blend until you no longer see large pieces. Then move the blender slowly around the pot to catch small bits hiding near the edges.
For Chunky Soup
Use short pulses instead of continuous blending. Stop while some pieces are still visible.
| Texture | Blending Method |
| Very smooth | Longer, steady blending |
| Creamy with some texture | Shorter blending |
| Chunky | Quick pulses |
This gives you much more control than simply running the blender at full speed.
Which Soups Work Best With an Immersion Blender?
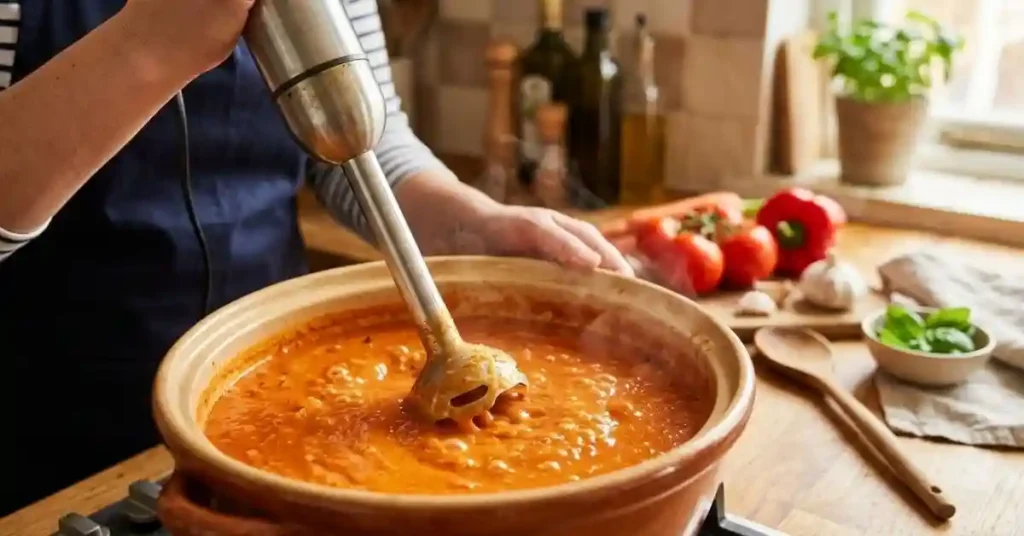
An immersion blender is especially useful for vegetable-based soups. It works well when the ingredients become soft during cooking.
Tomato soup, pumpkin soup, butternut squash soup, potato soup, carrot soup, and many bean soups are good examples.
| Soup Type | Immersion Blender? |
| Tomato soup | Excellent |
| Pumpkin soup | Excellent |
| Potato soup | Very good |
| Bean soup | Very good |
| Soup with large meat pieces | Not ideal |
Meat is a different story. I would remove large meat pieces before blending. You can add them back later if the recipe calls for them.
Can You Blend Hot Soup With an Immersion Blender?
Yes, an immersion blender is designed for blending ingredients in a container, but hot soup still needs care.
The main issue is splashing. Hot liquid can burn skin quickly. I never treat hot soup like a cold smoothie.
Keep the blender head below the surface. Use a low speed at first. Keep your face and hands away from the top of the pot.
| Hot-Soup Habit | Why It Helps |
| Turn off the heat | Reduces active bubbling |
| Use low speed first | Limits sudden splashes |
| Keep blade submerged | Helps prevent spray |
| Use a deep pot | Gives more splash room |
Also check your blender’s instructions. Some models have specific limits for hot liquids.
How to Get Extra-Smooth Soup With an Immersion Blender
An immersion blender can make soup very smooth, but it may not always create the same silky texture as a high-powered countertop blender.
The secret is preparation. Cut vegetables into similar sizes and cook them until very tender. Then blend in a steady, controlled way.
For an even smoother result, blend for a little longer and move the blade through the whole pot.
Why Does My Soup Still Have Chunks?
Usually, one of three things happened: the vegetables were not soft enough, the blender did not reach all areas, or the soup contains ingredients that do not break down easily.
| Symptom | Likely Cause |
| Hard chunks | Vegetables need more cooking |
| Small pieces | Blender missed some areas |
| Fibrous bits | Ingredient may need straining |
If the soup contains tough skins, seeds, or fibrous vegetables, blending alone may not remove them.
How to Use an Immersion Blender for Creamy Potato Soup
Potato soup needs a little extra care. Over-blending cooked potatoes can make the soup sticky or gluey.
I learned that more blending does not always mean better soup. Once the potatoes are broken down, stop and check the texture.
For a creamy potato soup, blend only until the soup reaches the texture you want. If it becomes too thick, add a little broth or milk and stir.
| Potato Soup Issue | Simple Fix |
| Too thick | Add broth |
| Too chunky | Blend briefly again |
| Gluey texture | Avoid over-blending |
| Too thin | Simmer gently |
This is one soup where restraint matters.
Common Immersion Blender Mistakes I Try to Avoid
Most immersion blender problems are easy to prevent. They usually come from rushing the process.
Mistake 1: Starting at Full Speed
Full speed can create a sudden whirlpool and splashes.
Better approach: Start low, then increase the speed when the soup is under control.
Mistake 2: Lifting the Blender While It Runs
This can send soup upward.
Better approach: Turn the blender off before lifting it from the soup.
Mistake 3: Blending Too Long
More blending is not always better. Some soups can become overly thick or develop an unwanted texture.
Better approach: Stop often and check the soup.
Mistake 4: Using the Wrong Pot
A shallow pot makes splashing easier.
Better approach: Use a deep pot with enough room for the blender to move.
| Mistake | Better Habit |
| Full speed at once | Start slowly |
| Lift while running | Turn off first |
| Blend without checking | Stop and taste |
| Use a shallow pan | Choose a deeper pot |
What to Do If Your Soup Is Too Thick After Blending
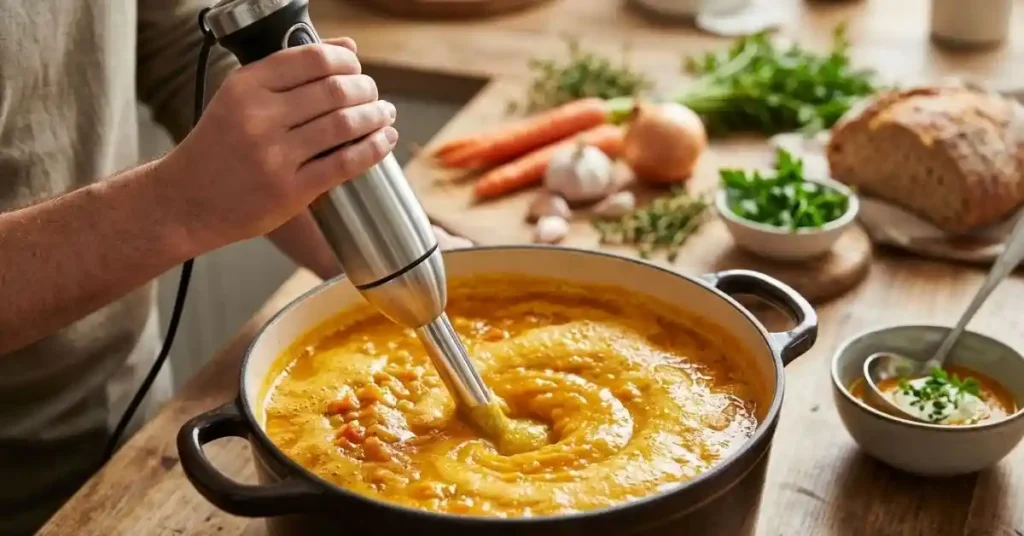
This is one of the easiest soup problems to fix.
Add a small amount of warm broth, water, or another suitable liquid. Stir it in and check the texture. Repeat as needed.
Do not pour in a large amount at once. It is much easier to thin soup little by little than to fix soup that suddenly becomes watery.
What to Do If Your Soup Is Too Thin
If your soup tastes good but lacks body, let it simmer gently for a while after blending. Some of the extra liquid will evaporate.
You can also use ingredients that naturally add body, depending on the recipe. Potatoes, beans, lentils, and cooked vegetables can all help.
Avoid adding random thickening ingredients just to make the soup look creamy. The best fix depends on the soup itself.
Immersion Blender vs. Countertop Blender for Soup
Both tools can make smooth soup, but they suit different situations.
I usually favor an immersion blender when convenience matters. There is no need to transfer hot soup from one container to another.
| Feature | Immersion Blender | Countertop Blender |
| Blend in cooking pot | Yes | Usually no |
| Easy cleanup | Yes | More parts |
| Very silky texture | Good | Often better |
A countertop blender can be useful when you want an extremely smooth texture. But transferring hot soup can add extra steps and extra splash risk.
For everyday soup, an immersion blender is often the simpler option.
Can You Use an Immersion Blender in a Nonstick Pot?
Be careful with nonstick cookware. The blender guard can scratch the coating if it hits the bottom or sides.
I avoid dragging the blender along the bottom of a nonstick pot. Keep it slightly away from the surface and move it gently.
If your blender manufacturer gives specific cookware instructions, follow those first.
How to Clean an Immersion Blender After Making Soup
Cleaning is another reason I like this tool. You usually do not have a large blender jar to wash.
Unplug the unit before cleaning. Detach the removable blending shaft if your model allows it, then clean it according to the manufacturer’s instructions.
Do not put the motor housing under running water unless the manual says it is safe.
| Part | Cleaning Tip |
| Blending shaft | Wash after use |
| Blade area | Remove food carefully |
| Motor housing | Wipe with a damp cloth |
Clean the blade area soon after use. Dried soup can be much harder to remove later.
Quick Guide: How to Use Immersion Blender for Soup
If you want the short version, this is the routine I would follow:
- Cook the soup until the vegetables are soft.
- Turn off the heat.
- Let violent bubbling stop.
- Place the blender head fully under the soup.
- Start on low speed.
- Blend in short bursts.
- Move slowly around the pot.
- Stop and check the texture.
- Add liquid if the soup is too thick.
- Turn the blender off before lifting it out.
The process is simple once you get used to it.
Final Thoughts
Learning how to use immersion blender for soup is mostly about control. Keep the blade submerged, start slowly, and blend only as much as you need. Those three habits prevent most problems.
I also think it helps to stop chasing perfect smoothness. Some soups taste better with a little texture. Use the immersion blender as a tool to control the soup, not as a reason to blend everything until it is completely smooth.
FAQs
Can you use an immersion blender for soup?
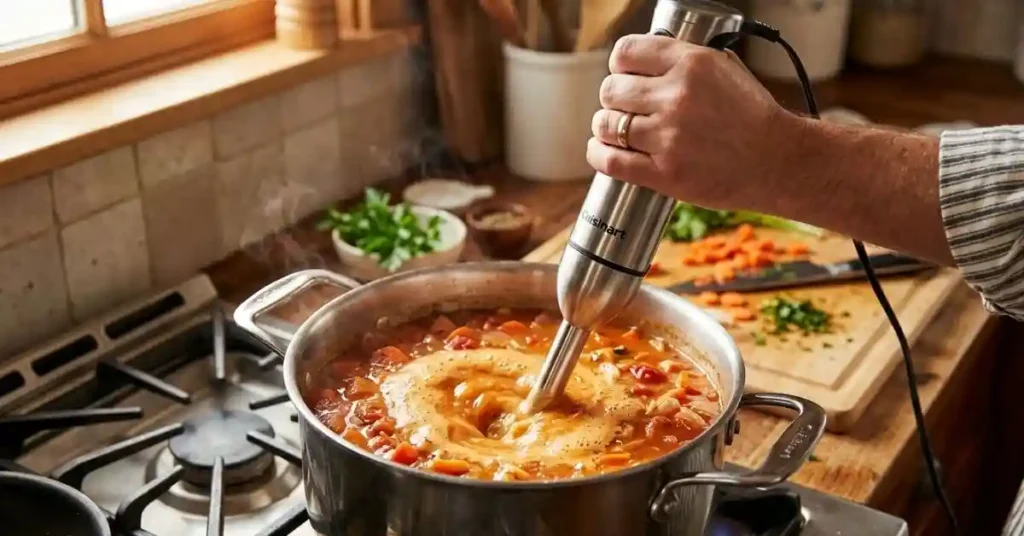
Yes. An immersion blender works well for hot soup. Keep the blade under the soup and blend slowly to avoid splashes.
How do you use an immersion blender for soup?
Turn off the heat first. Put the blade under the soup, start slow, and move the blender around until the soup is smooth.
Can an immersion blender make soup smooth?
Yes. An immersion blender can make many soups smooth and creamy. Cook the food until soft, then blend in short bursts.
How long should you blend soup with an immersion blender?
Most soups need only a few minutes. Blend until you get the texture you like. Stop often to check the soup as you go.
Why is my soup not smooth with an immersion blender?
The food may not be soft enough, or the blade may miss some areas. Cook the food more and move the blender through the pot.
To Get More About Home, Home and Kitchen Product You Can Visit Our Site. If You Found our Posts Helpful Leave a Comment Below